
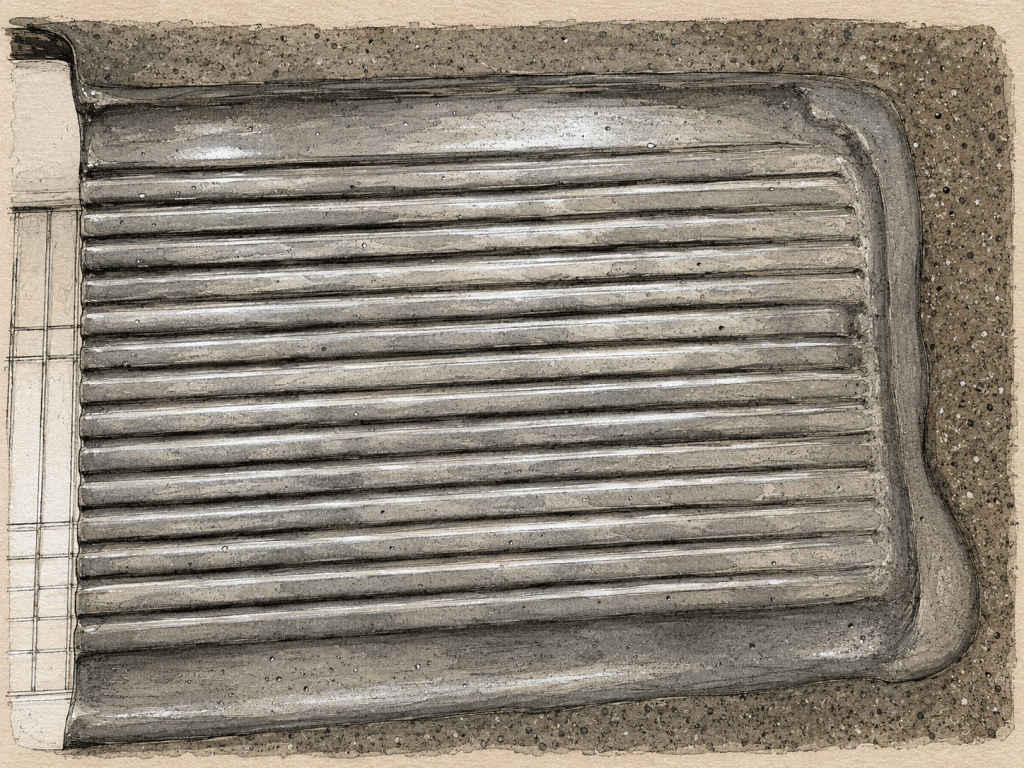
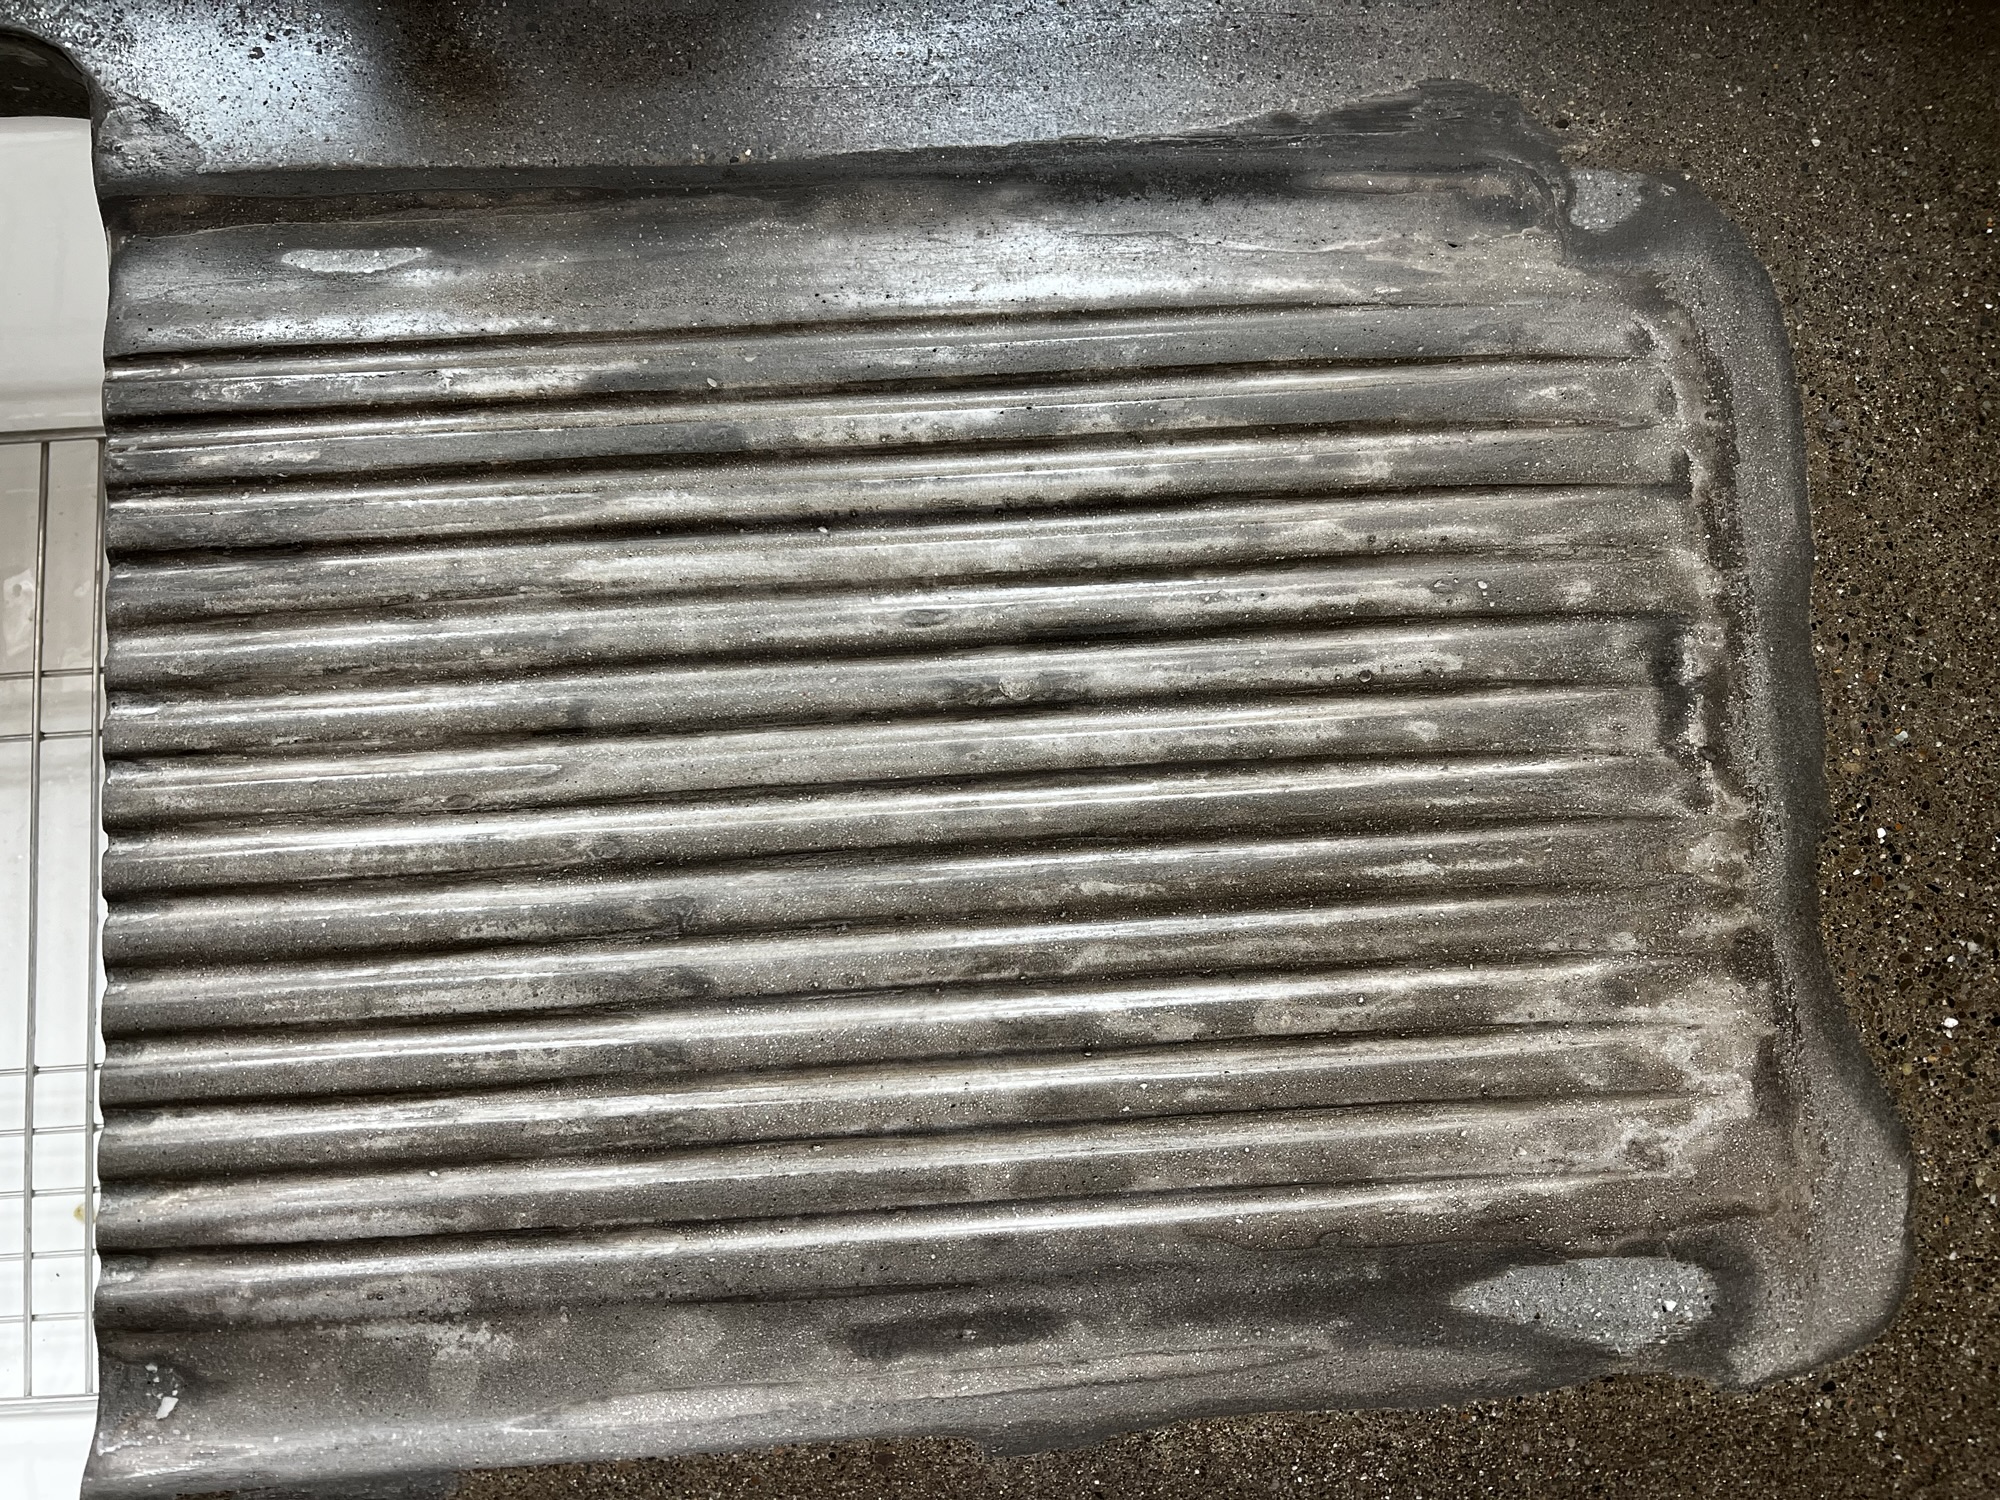
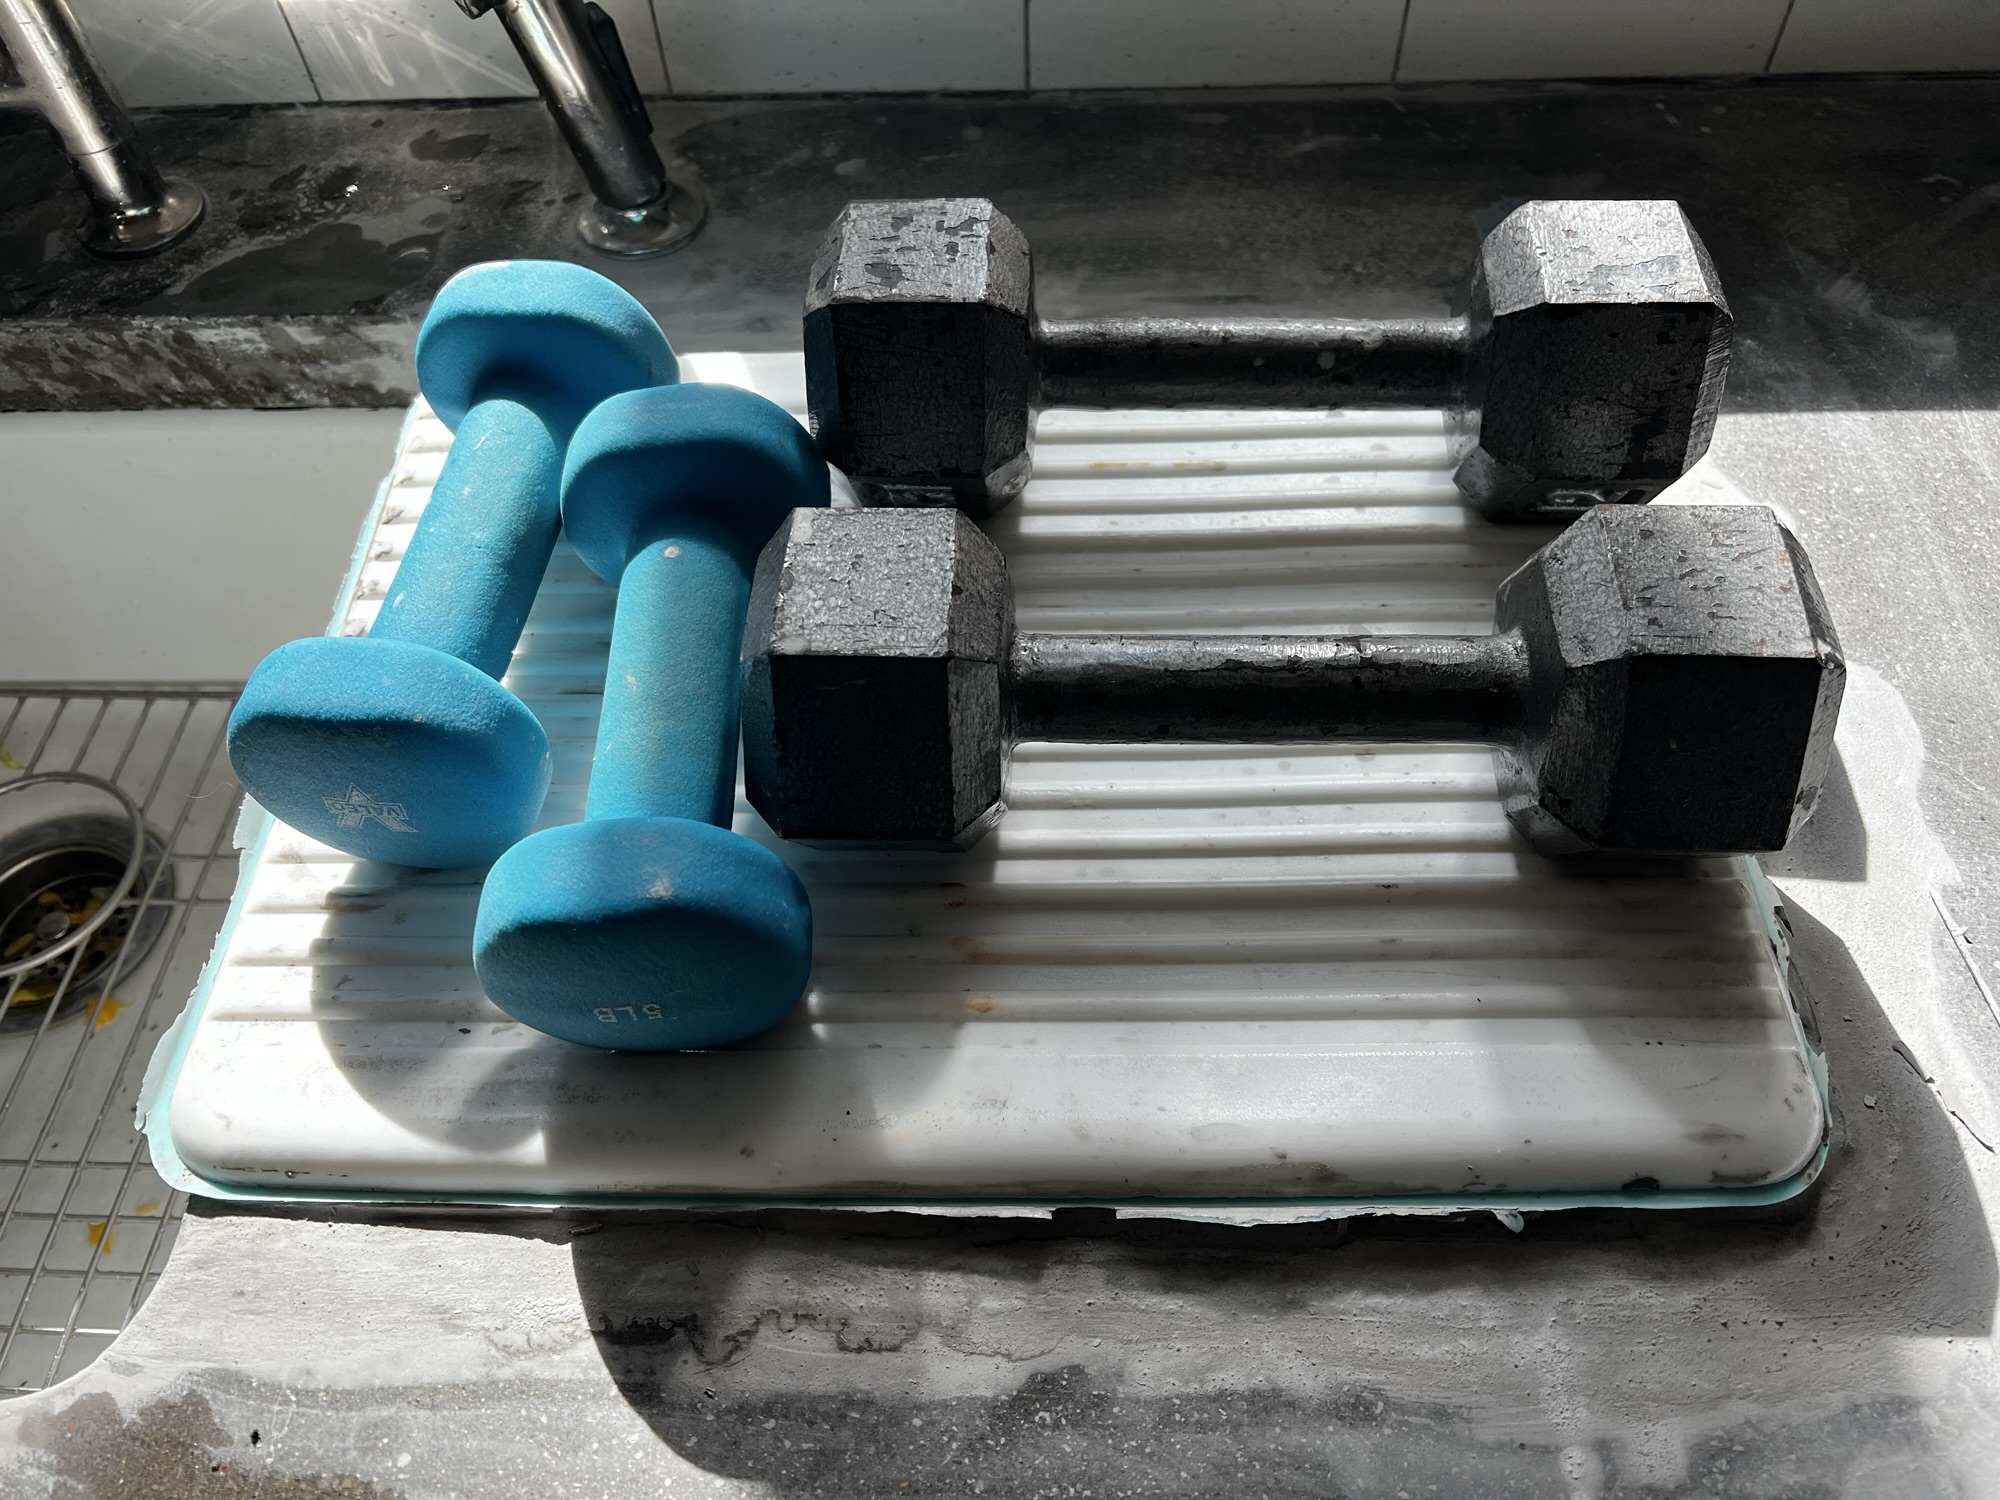
I finally finished my concrete drain board refurbish. It’s blotchy as hell.
The shape is perfect. It looks exactly like a drain board should look. But after all the layers, all the different materials, and all the well-intentioned repair attempts I documented in Part One, it ended up looking like a topographical map of somewhere with questionable weather patterns. Not attractive. Fully functional.
If you’re considering a similar project — and I hope you can learn from my mistakes — here’s what I’d do differently:
- Cut out a clean shape to refill and feather properly. My edges were sloppy where materials overlapped, which contributed to the patchwork-quilt finish I wasn’t going for.
- Match your materials from the start. In hindsight, I should have used the original concrete from our 2010 countertop pour — probably Quikrete 5000 — and just sifted it to a finer consistency. The color would have matched perfectly. Did I think of this? Yes. Did I want to buy a 60-pound bag of concrete for a patch the size of a dinner plate? No. So I didn’t. Mistake.
- Nail the first pour. Stiff mold, hard surface on top for even pressure, weight and vibration if you can manage it, and a real release agent — not vegetable oil, not snowblower spray. The first pour is the only one that matters. Everything after that is patching the patch.
- Wait for full cure before sanding. Boring advice. I ignored it. Wet sanding takes off more material than you want, and it makes it nearly impossible to blend different pours.
- Be generous on the first application. Use extra material so it squeezes out from everywhere when you press the mold down. This saves you from making multiple passes — which is how you end up with the lovely blotchy effect I achieved.
For sanding I used 5″ hook-and-loop diamond grinding disks left over from the original countertop project, starting at 50 grit for the big takedown and working through 200 and 400. I sanded by hand with water, which was effective but also revealed how unevenly the different applications had cured.
When I switched to wet/dry sandpaper, things got counterintuitive. Dry sanding took off material faster but unevenly — probably because of my inconsistent material mix and my impatience about cure times. But here’s the paradox: dry sanding with a coarser grit actually got the surface smoother, even though it removed less material overall. I ended up using dry for the final polish at around 400 to 600 grit. For the drain channels themselves, a skinny dowel wrapped in sandpaper worked well — it maintained the shape without flattening the grooves.
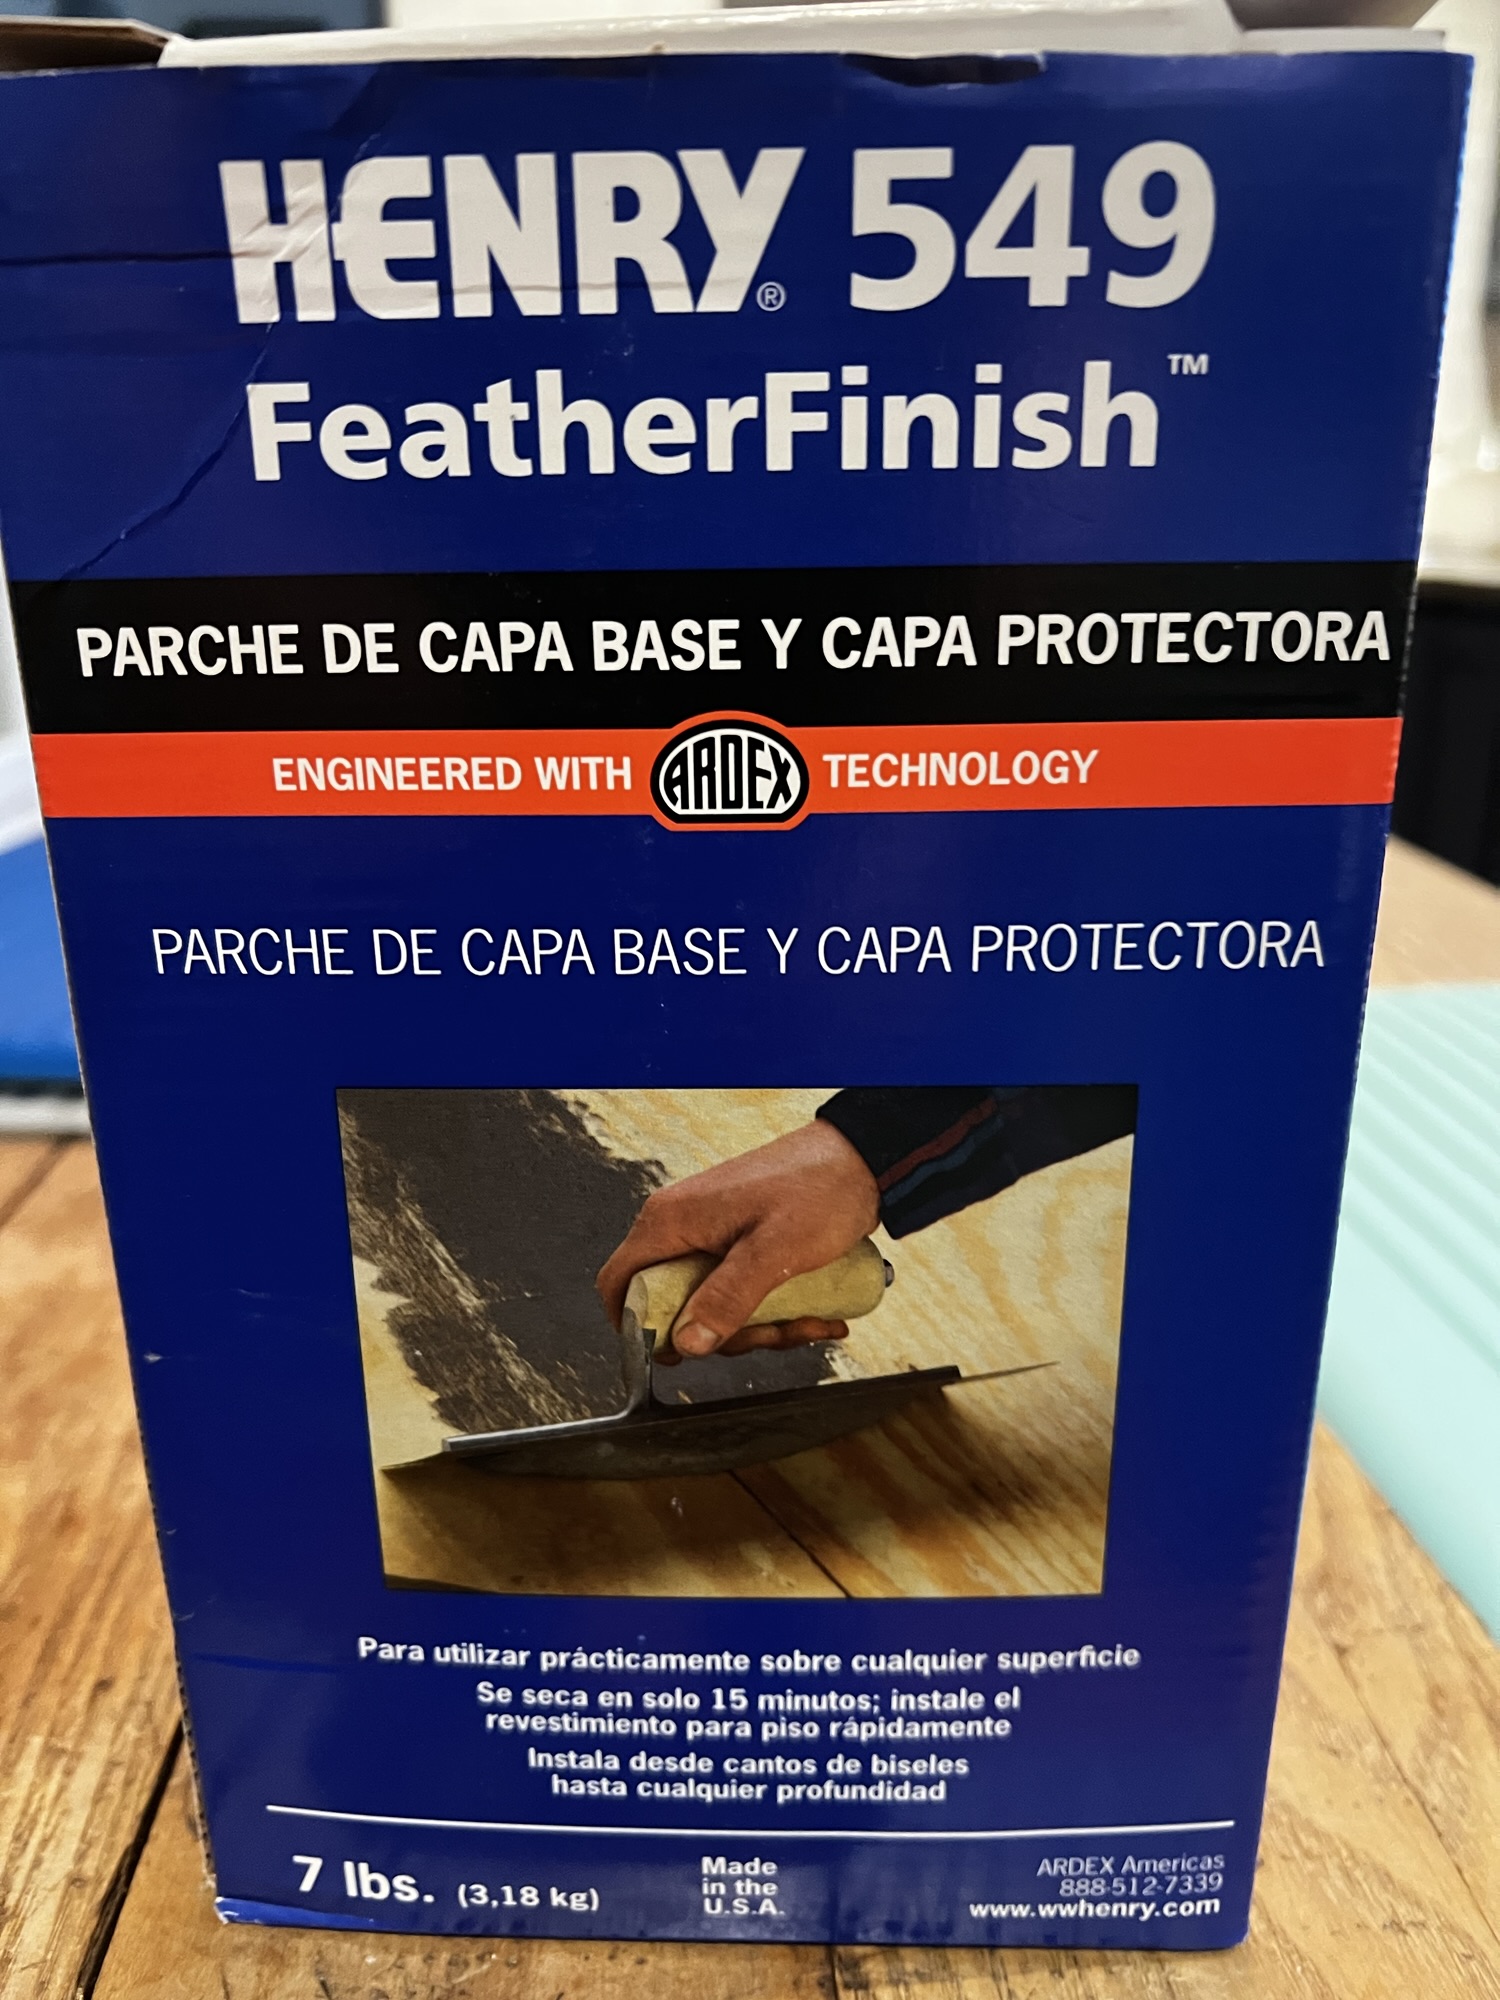
What I actually used: Smooth-On Mold Max 60 for the mold (still needed a solid surface on top for even pressure), and a chaotic blend of sifted Top ‘n Bond Concrete Patcher, Henry Feather Finish, and Z Counter Patch for the concrete itself. The blend was a workaround for the fact that no single product was getting me close enough. What I would use next time: the original Quikrete 5000, sifted.
Is it finished? Close enough. The drain board works, the shape is right, and it looks like it’s been through some things. The honest version of the lesson is that trying to patch a 15-year-old concrete countertop without ripping it out is a much bigger ask than the YouTube videos make it sound. The materials are the easy part. Matching what’s already there — color, density, finish, cure rate — is where it falls apart. If I ever do this again, I’ll start with the original mix and skip the three weeks of experiments. Probably.


Leave a comment