
Back in 2010, when YouTube had DIY videos but nothing like today’s endless stream of concrete countertop influencers, my wife and I poured our own concrete countertops. The information I found online was decent but limited. Most of the instructions involved pouring counters in a shop and then installing them. But my friend Marty, who was building most of the house, had the idea to pour them in place. I’ll give credit where it’s due — this was genius, since the kitchen wasn’t finished and we could make whatever mess we wanted.
With a rented concrete vibrator and a purchased wet sander with diamond discs, the three of us poured our countertops. They turned out pretty damn good for people who had no idea what they were doing. More on the original build in the kitchen post.
Except for one detail.
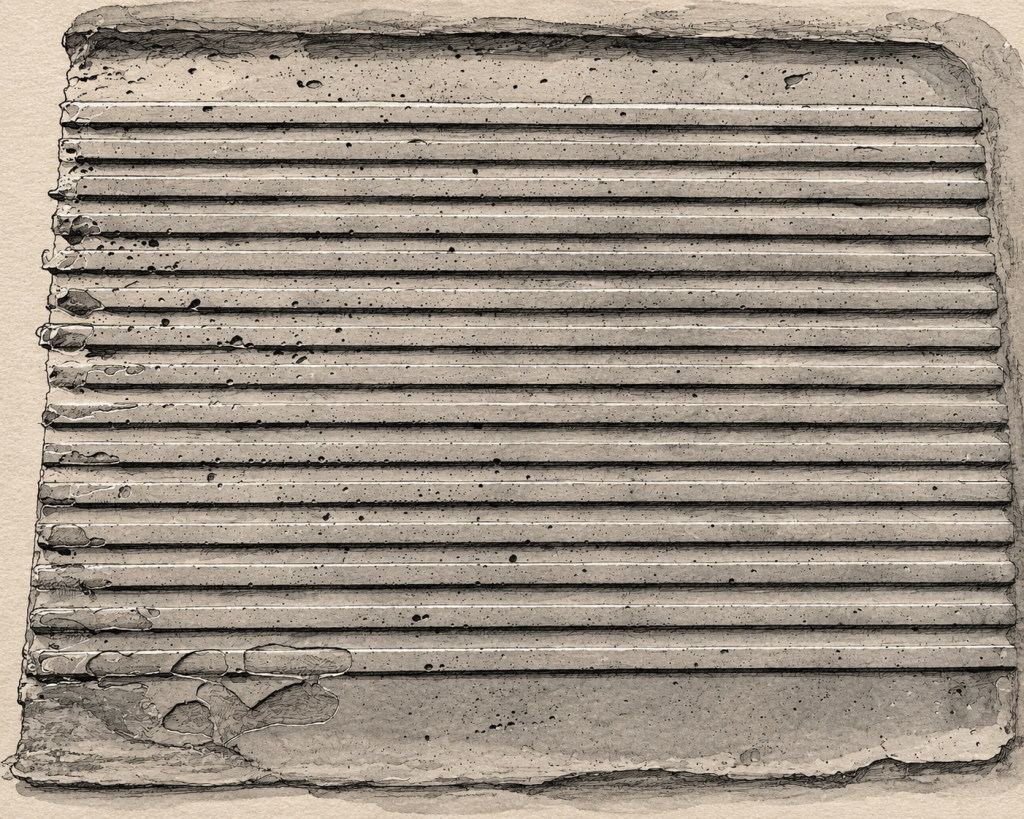
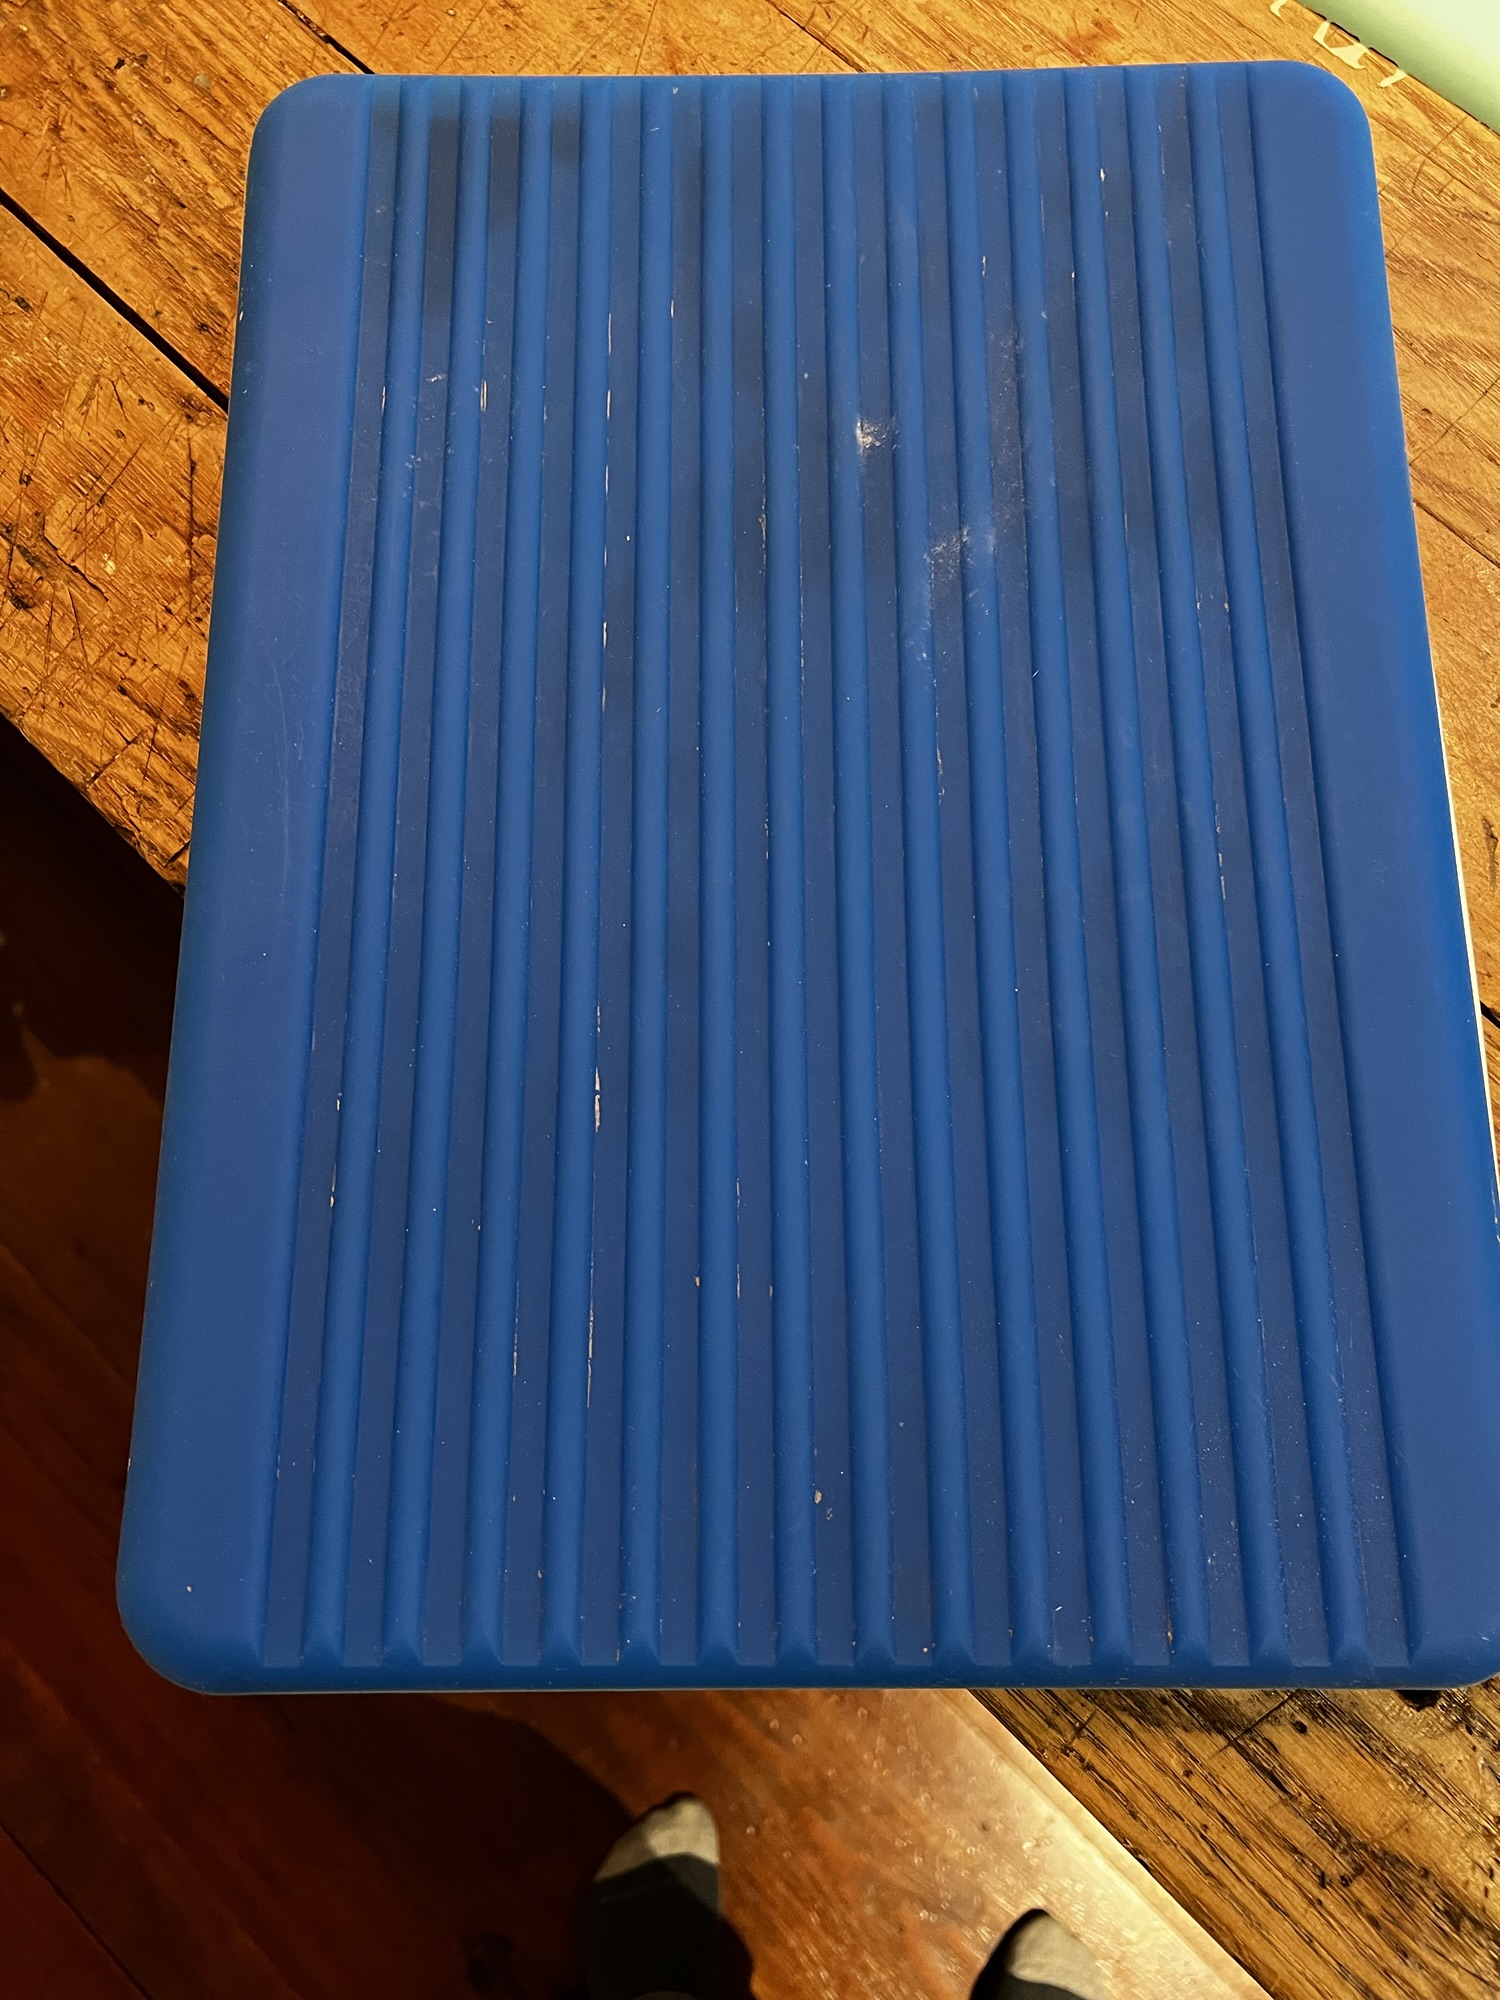
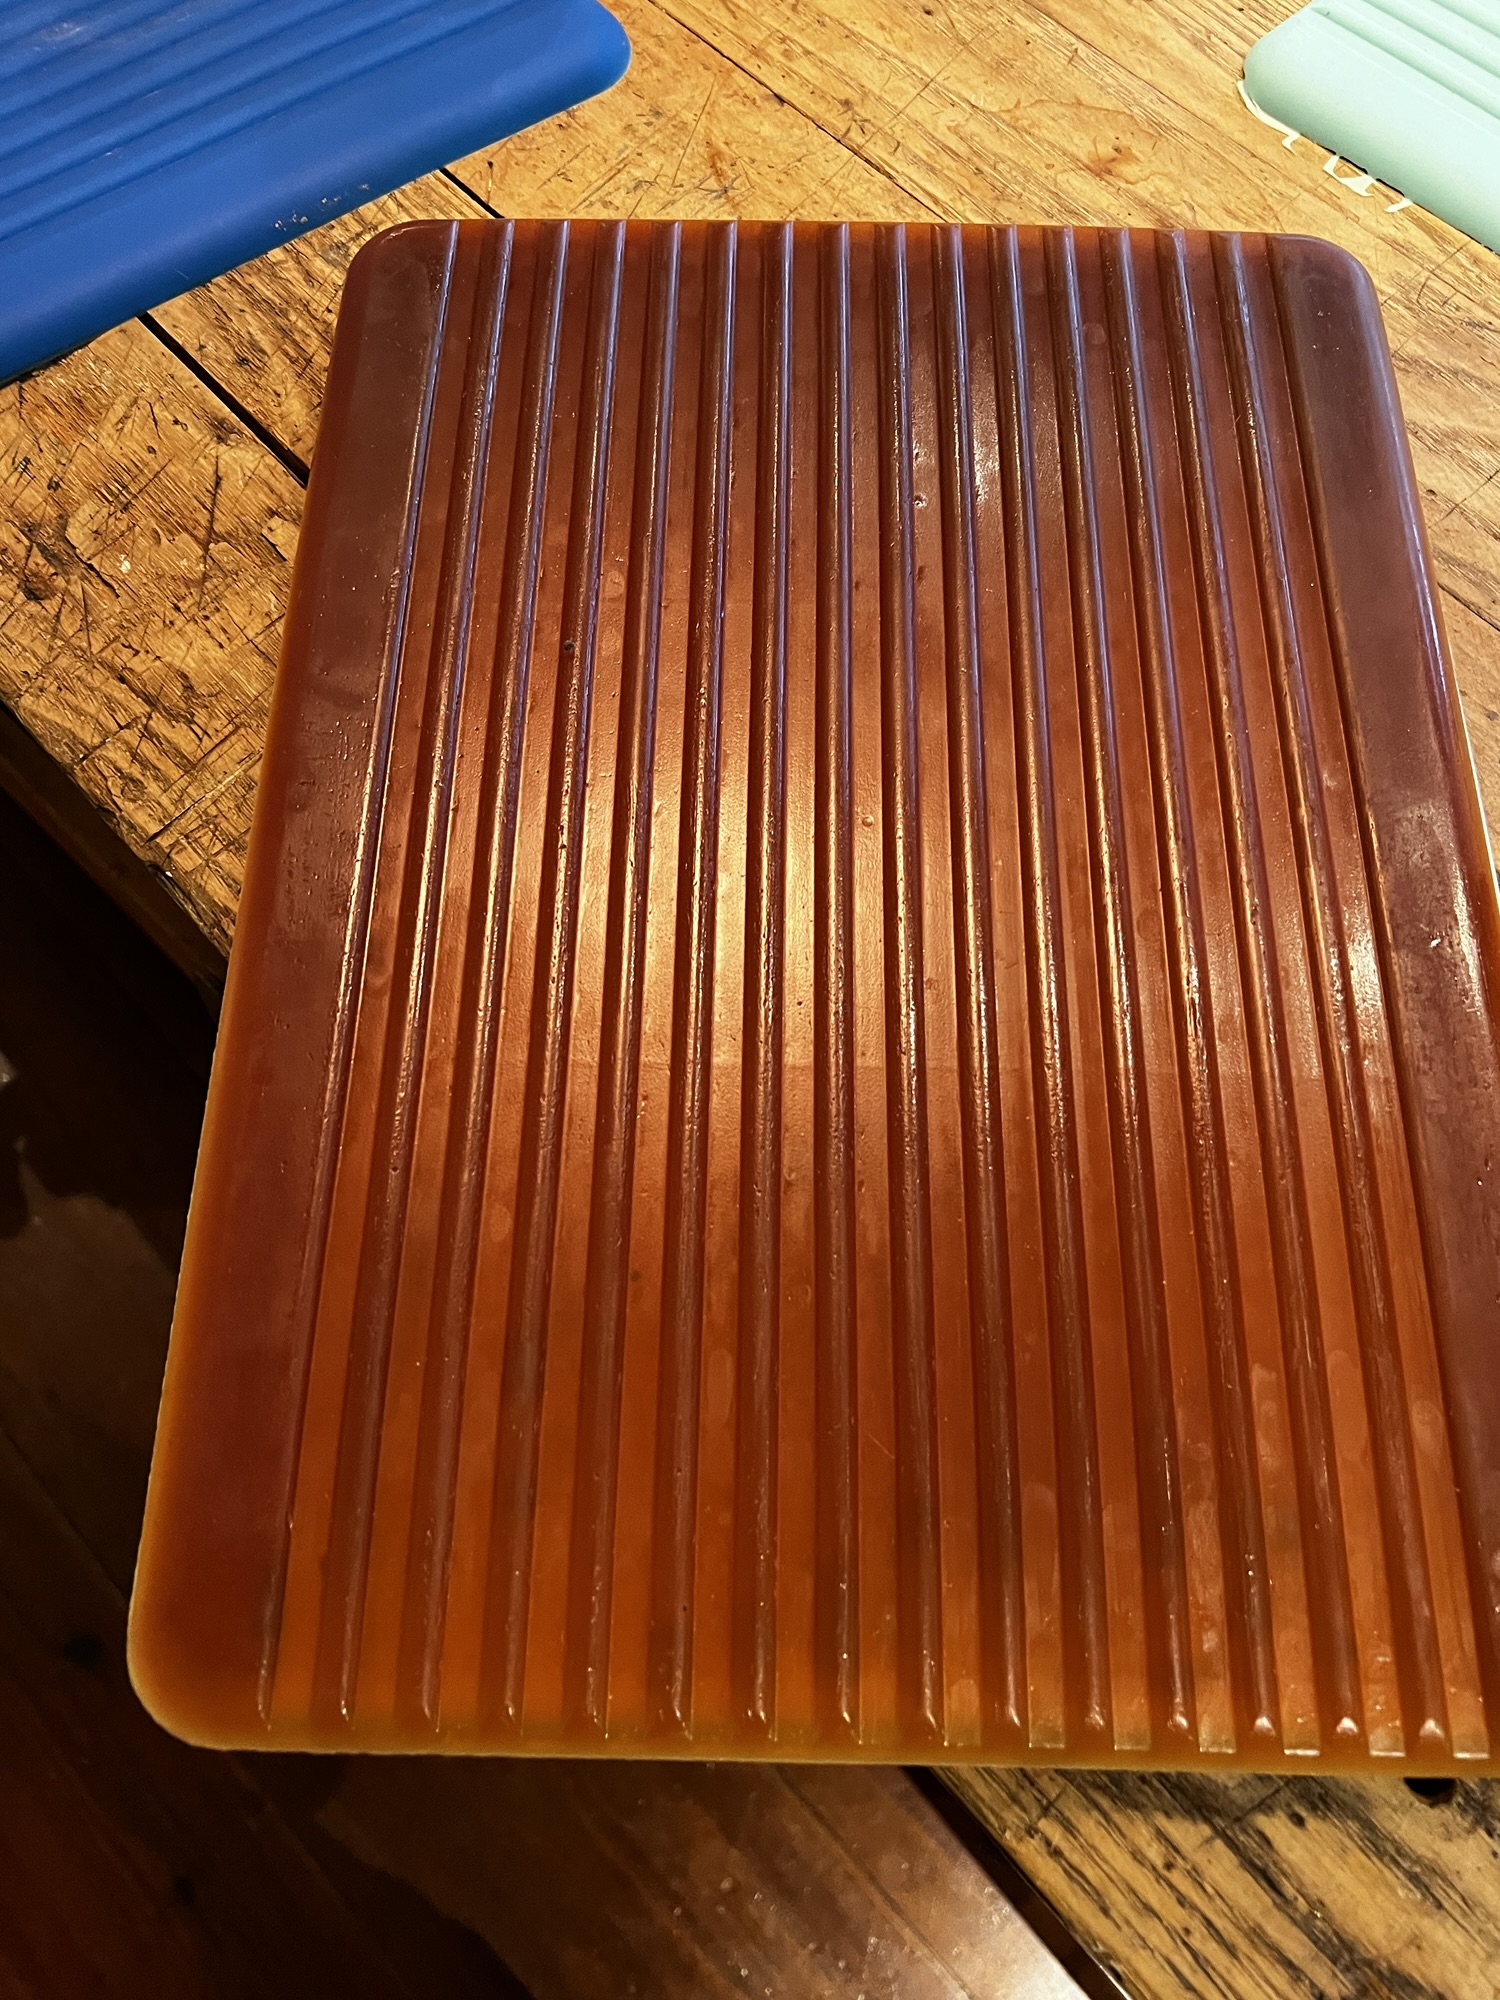
In a moment of design ambition we decided to incorporate a drain board next to the sink. I found a plastic dish drain to use as a mold, Marty cut the sides off, and we pressed the pattern into the wet concrete. Over the years that drain board area slowly chipped away until we had rough, unsightly holes. We lived with it because that’s what you do when you’re too stubborn to admit defeat. But when it came time to refresh the kitchen cabinets, I decided to face it.
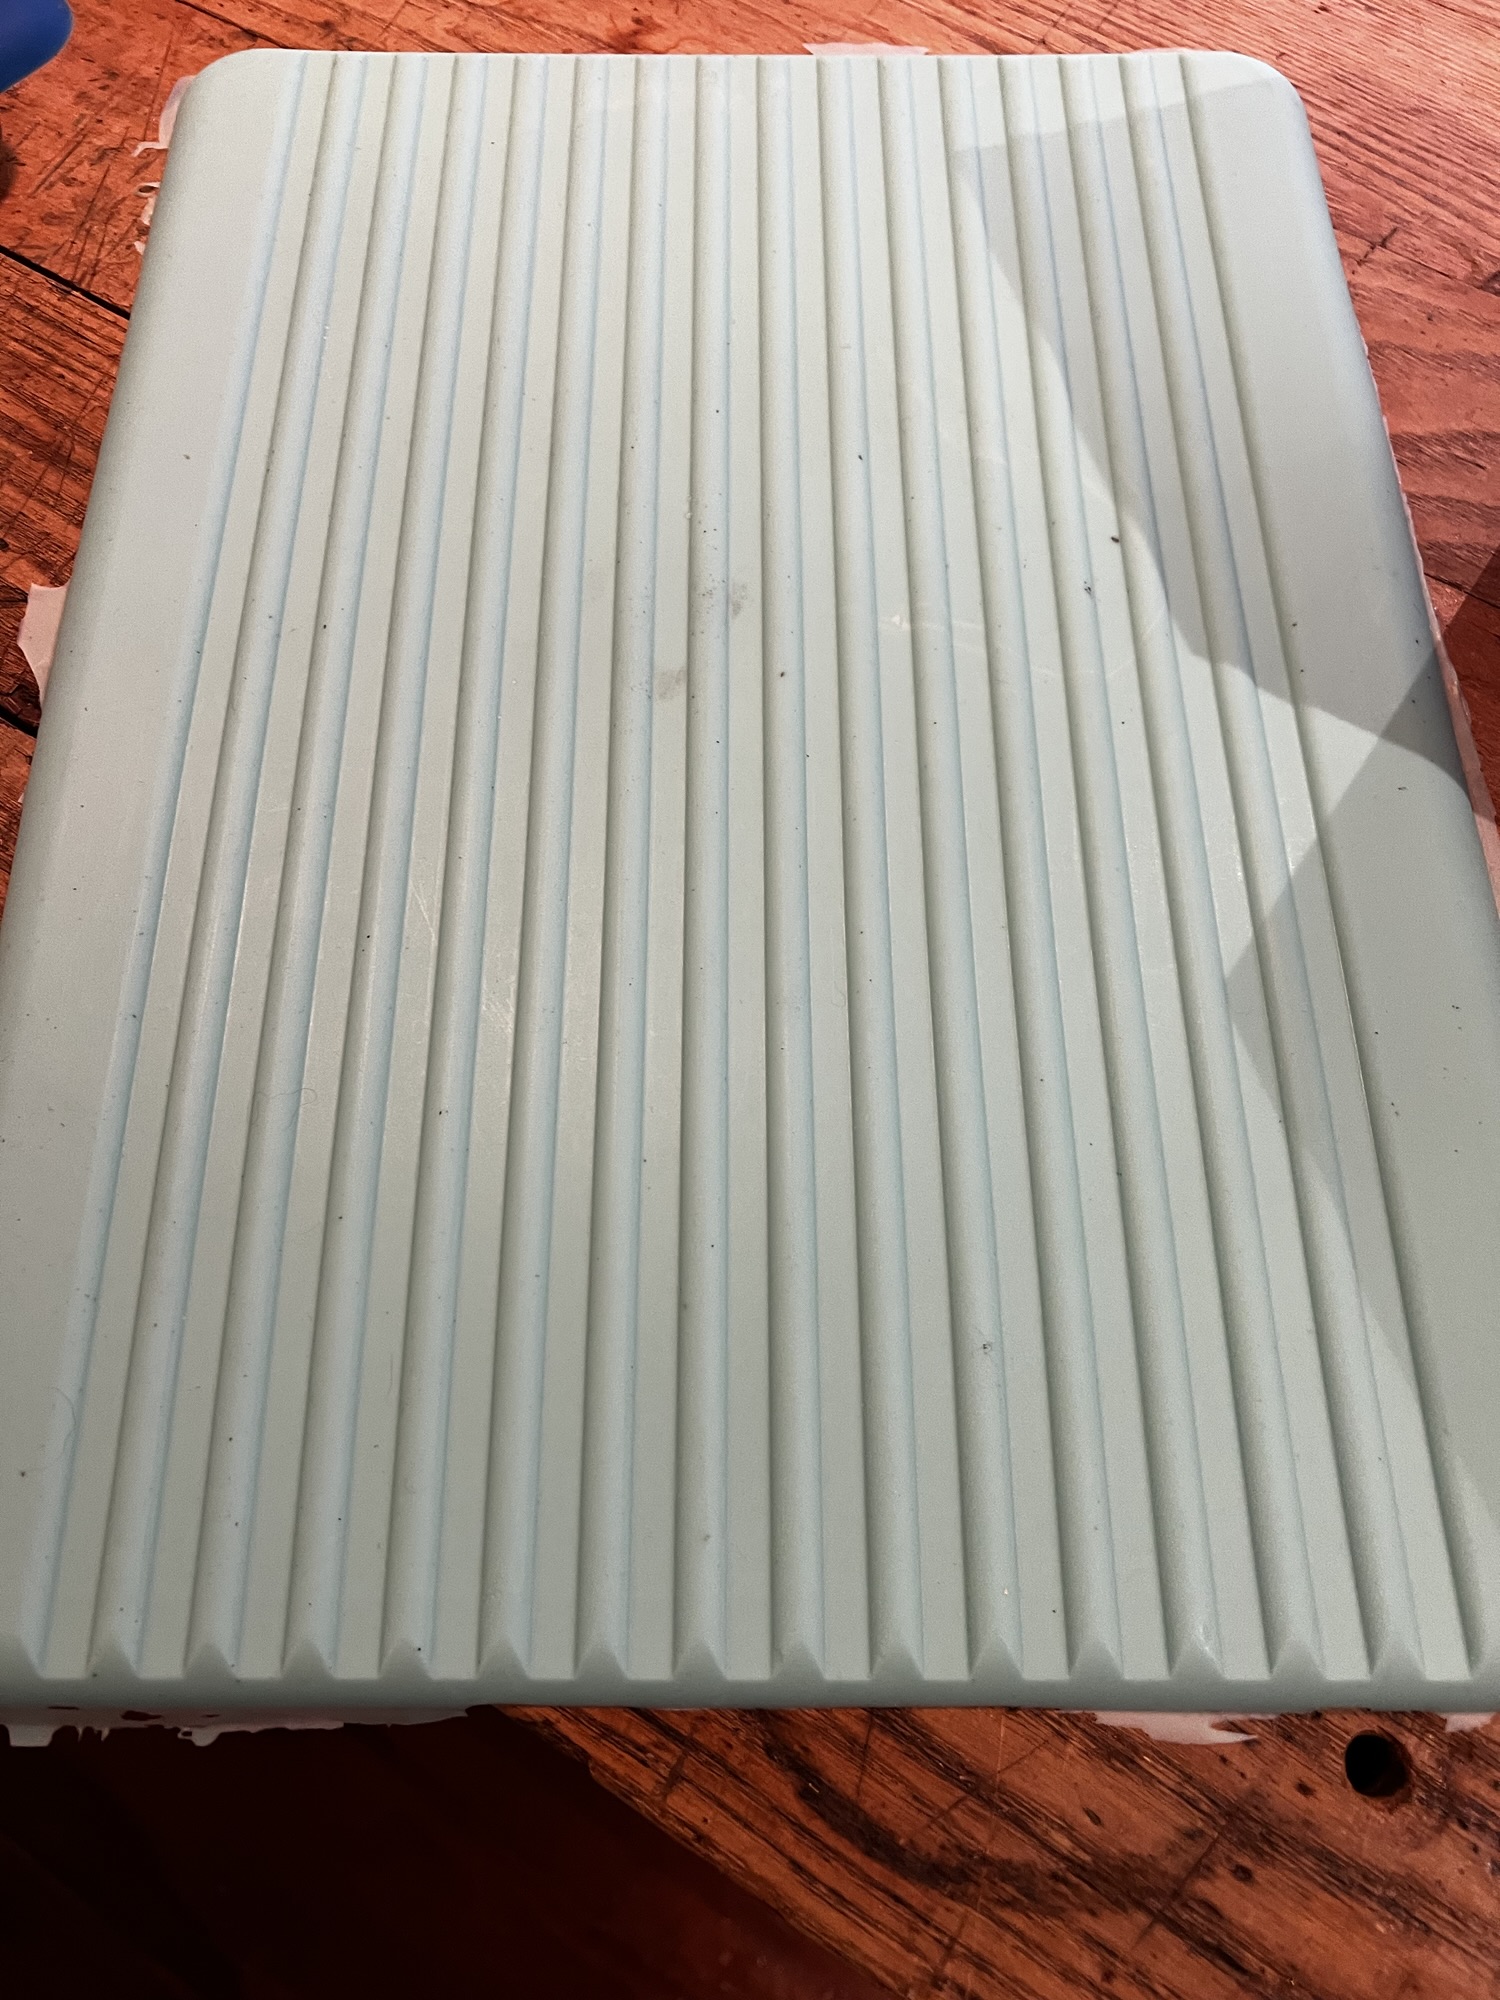
The first attempt used Top ‘n Bond Concrete Patcher, which said “for application thickness under 1/2 inch.” Perfect for blending into the existing counter. For a mold I made a silicone rubber cast of the second dish drain I’d hoarded from the original project — currently in service as a bolt container. I used BBDINO Silicone Mold Making Kit, with snowblower no-stick spray as the release agent because that’s what was in the garage.
The mold turned out well. It was also wobbly and soft. I mixed the patch, pressed the mold down, and waited. When I peeled it back hours later, half the material had stuck to the mold and the rest had a weird hump where the soft mold had flexed. Wet sanding revealed two problems: the mold was too soft, and the Top ‘n Bond was too coarse to feather to zero.
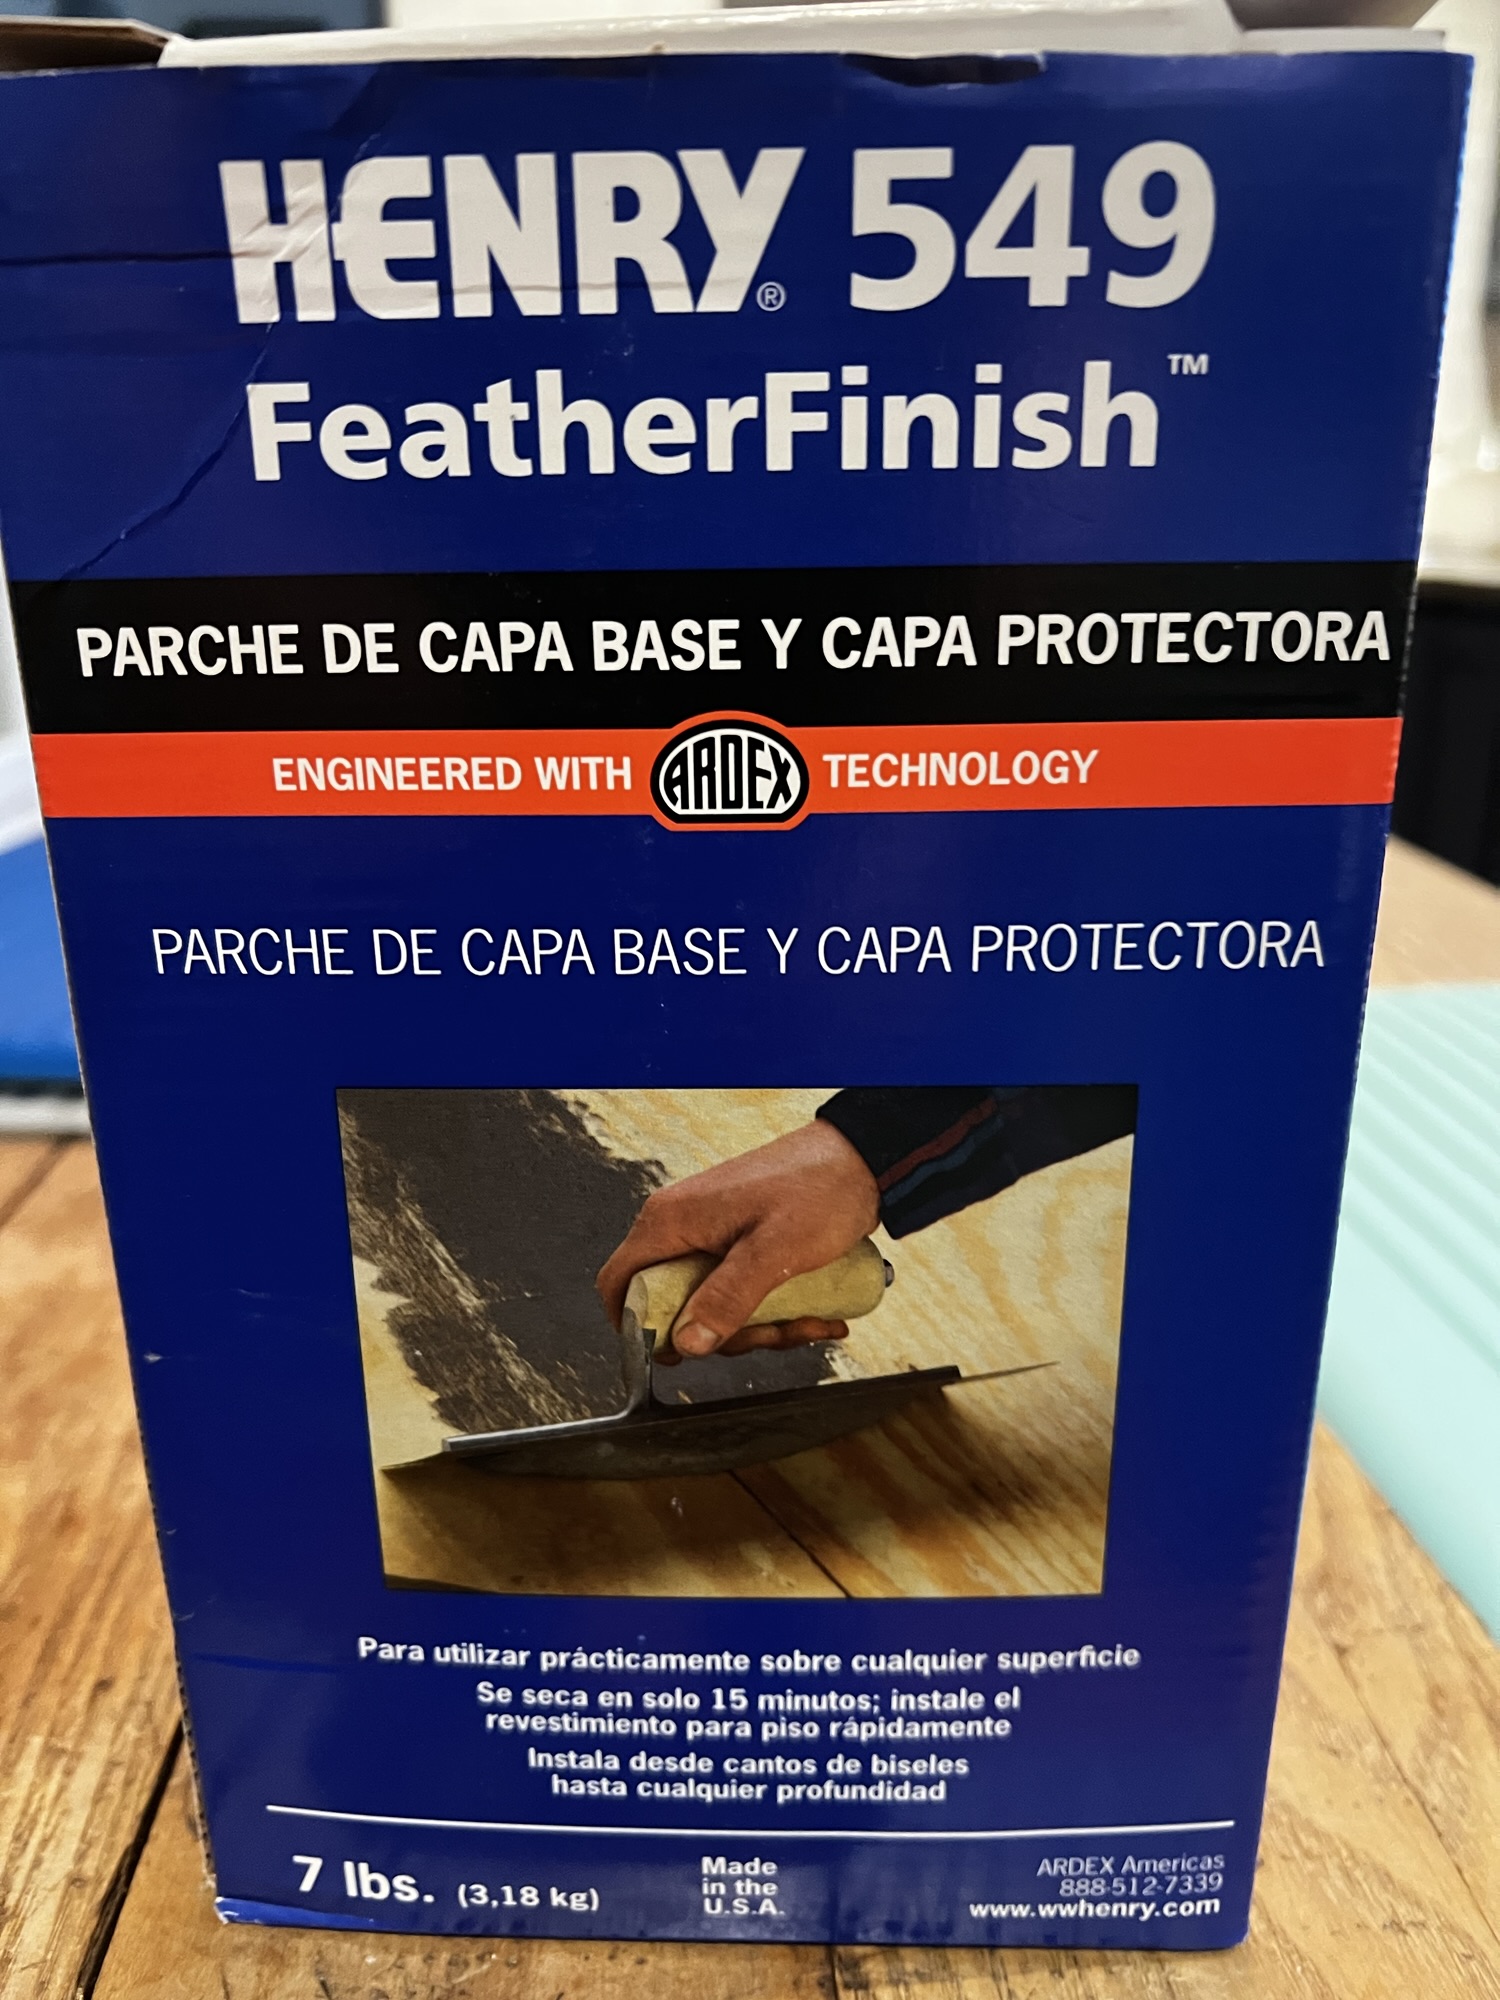
Attempt two: Henry Feather Finish (because I could pick it up locally) plus a rigid mold made from Bondo liquid resin. The Bondo smelled like cancer in a bottle and the resin cured into a noticeably shrunken drain board — hard and solid as I wanted, but now too small to match what I’d already poured. I went ahead anyway and used vegetable oil as a release agent, because at this point I was just cycling through the kitchen and garage for solutions. The next morning, same problem: material stuck to the mold. The Feather Finish was supposed to be dry-sandable but produced so much dust I switched to wet sanding, which took off too much material.
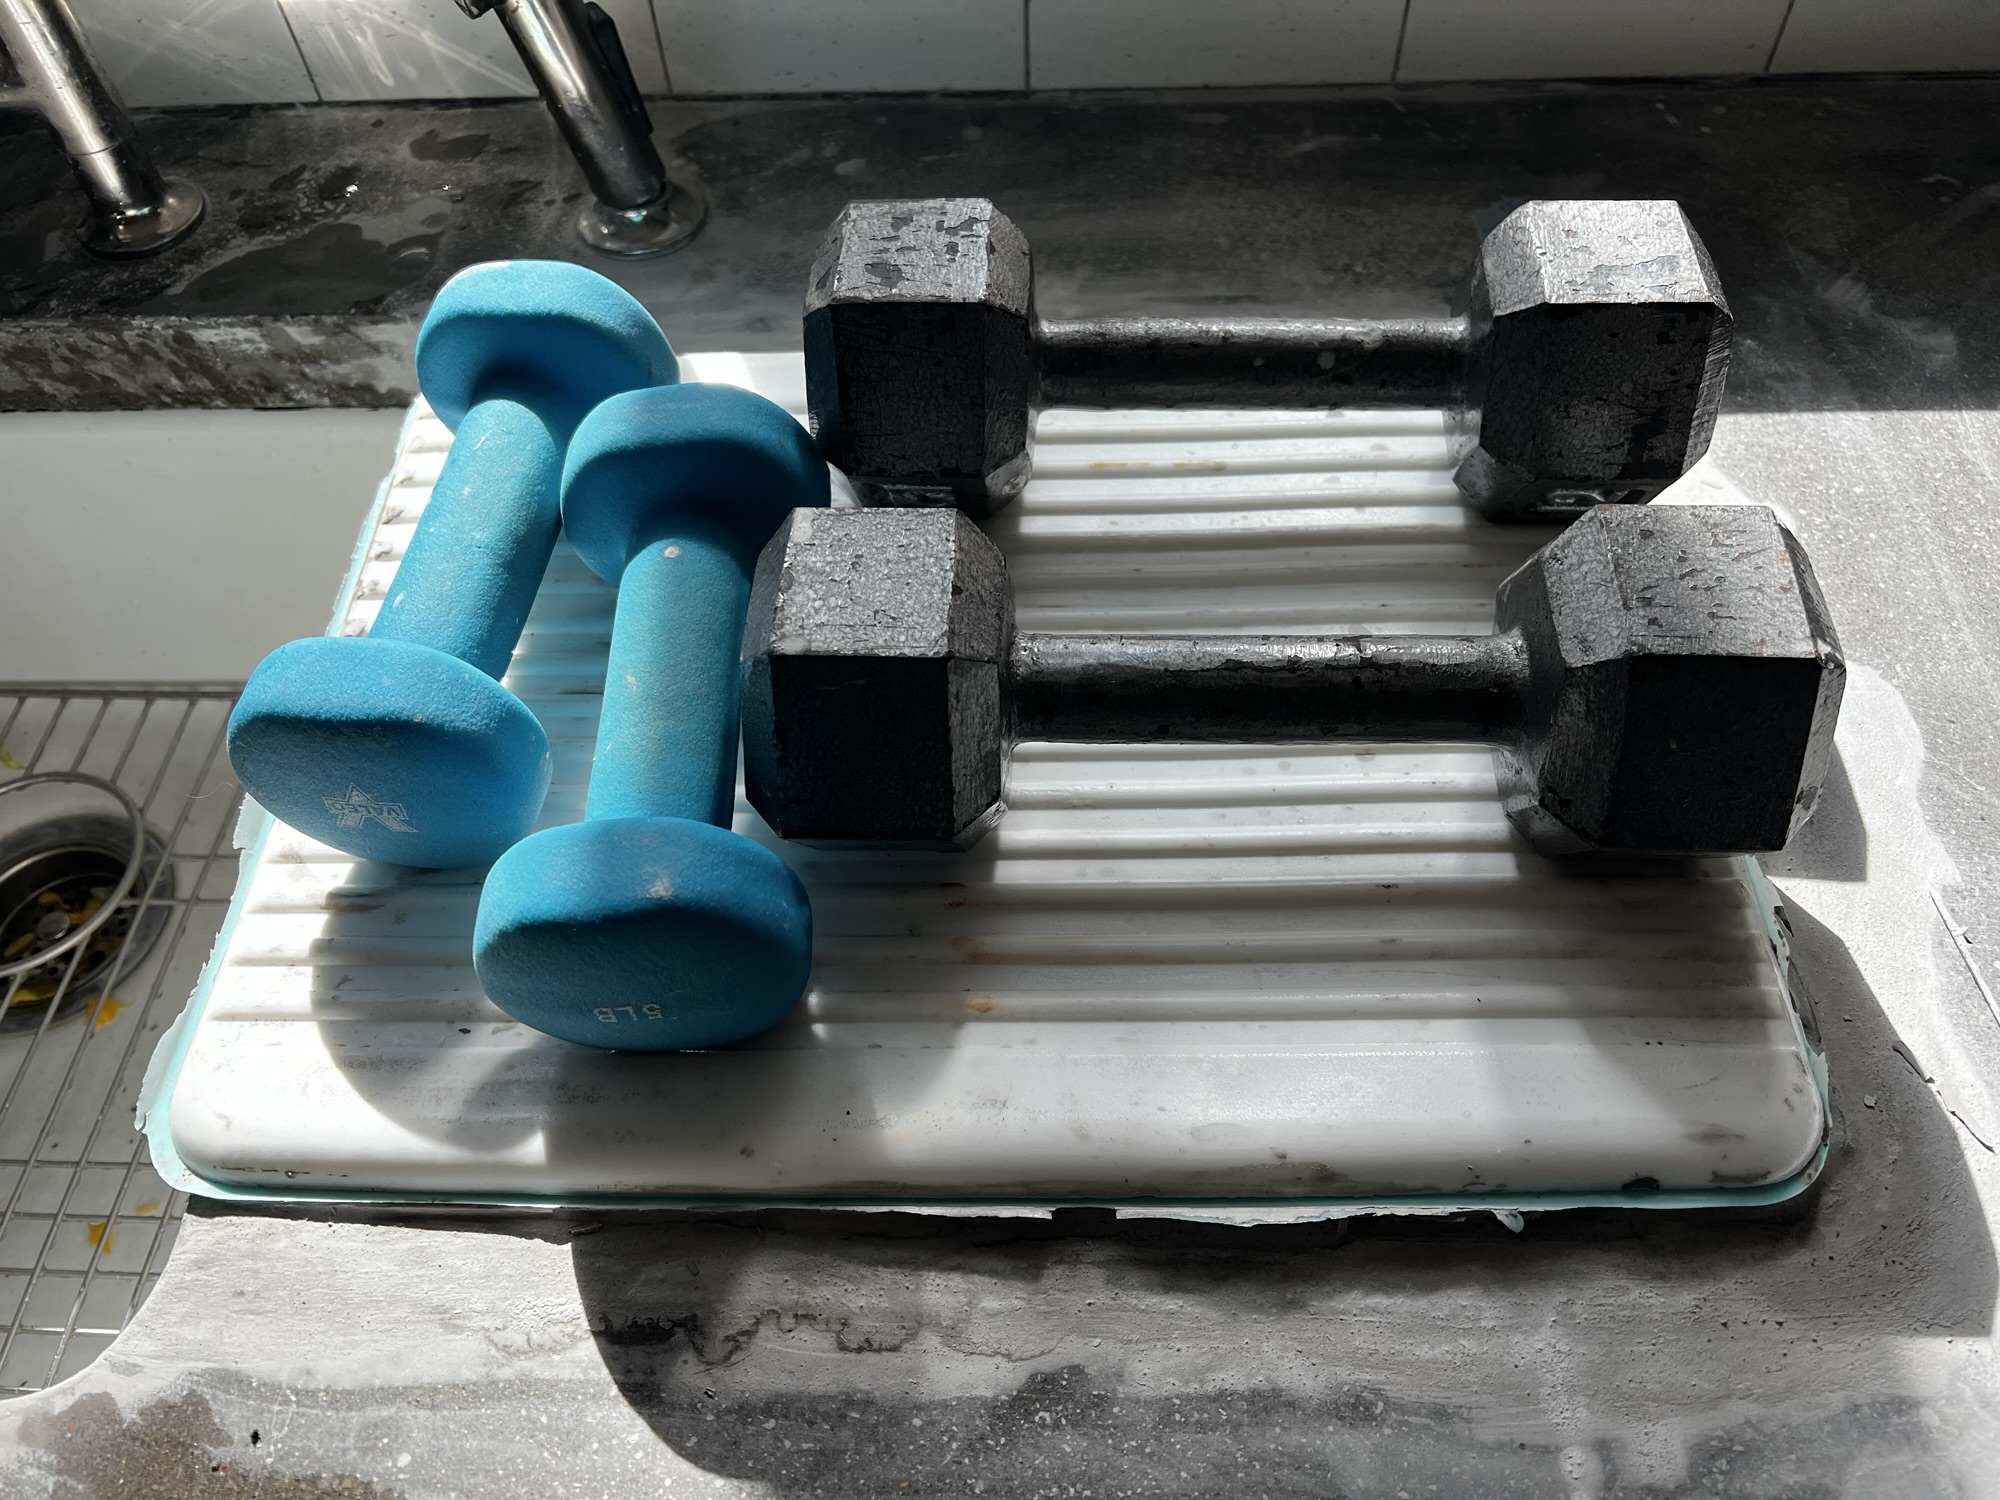
Attempt three: Alumilite Amazing White Casting Resin, advertised as non-shrinking. (It shrank.) The original drain board template was now warped from the Bondo, so I weighed it down to flatten the warps while the new resin cured. I used petroleum jelly as the release agent and even sprayed water on the mold surface before pressing it down. I also grabbed one of my son’s free weights from the living room floor — the one I’d been stubbing my toe on — and used it to press down on the mold, figuring the extra pressure would help.
Narrator: It didn’t make a difference.
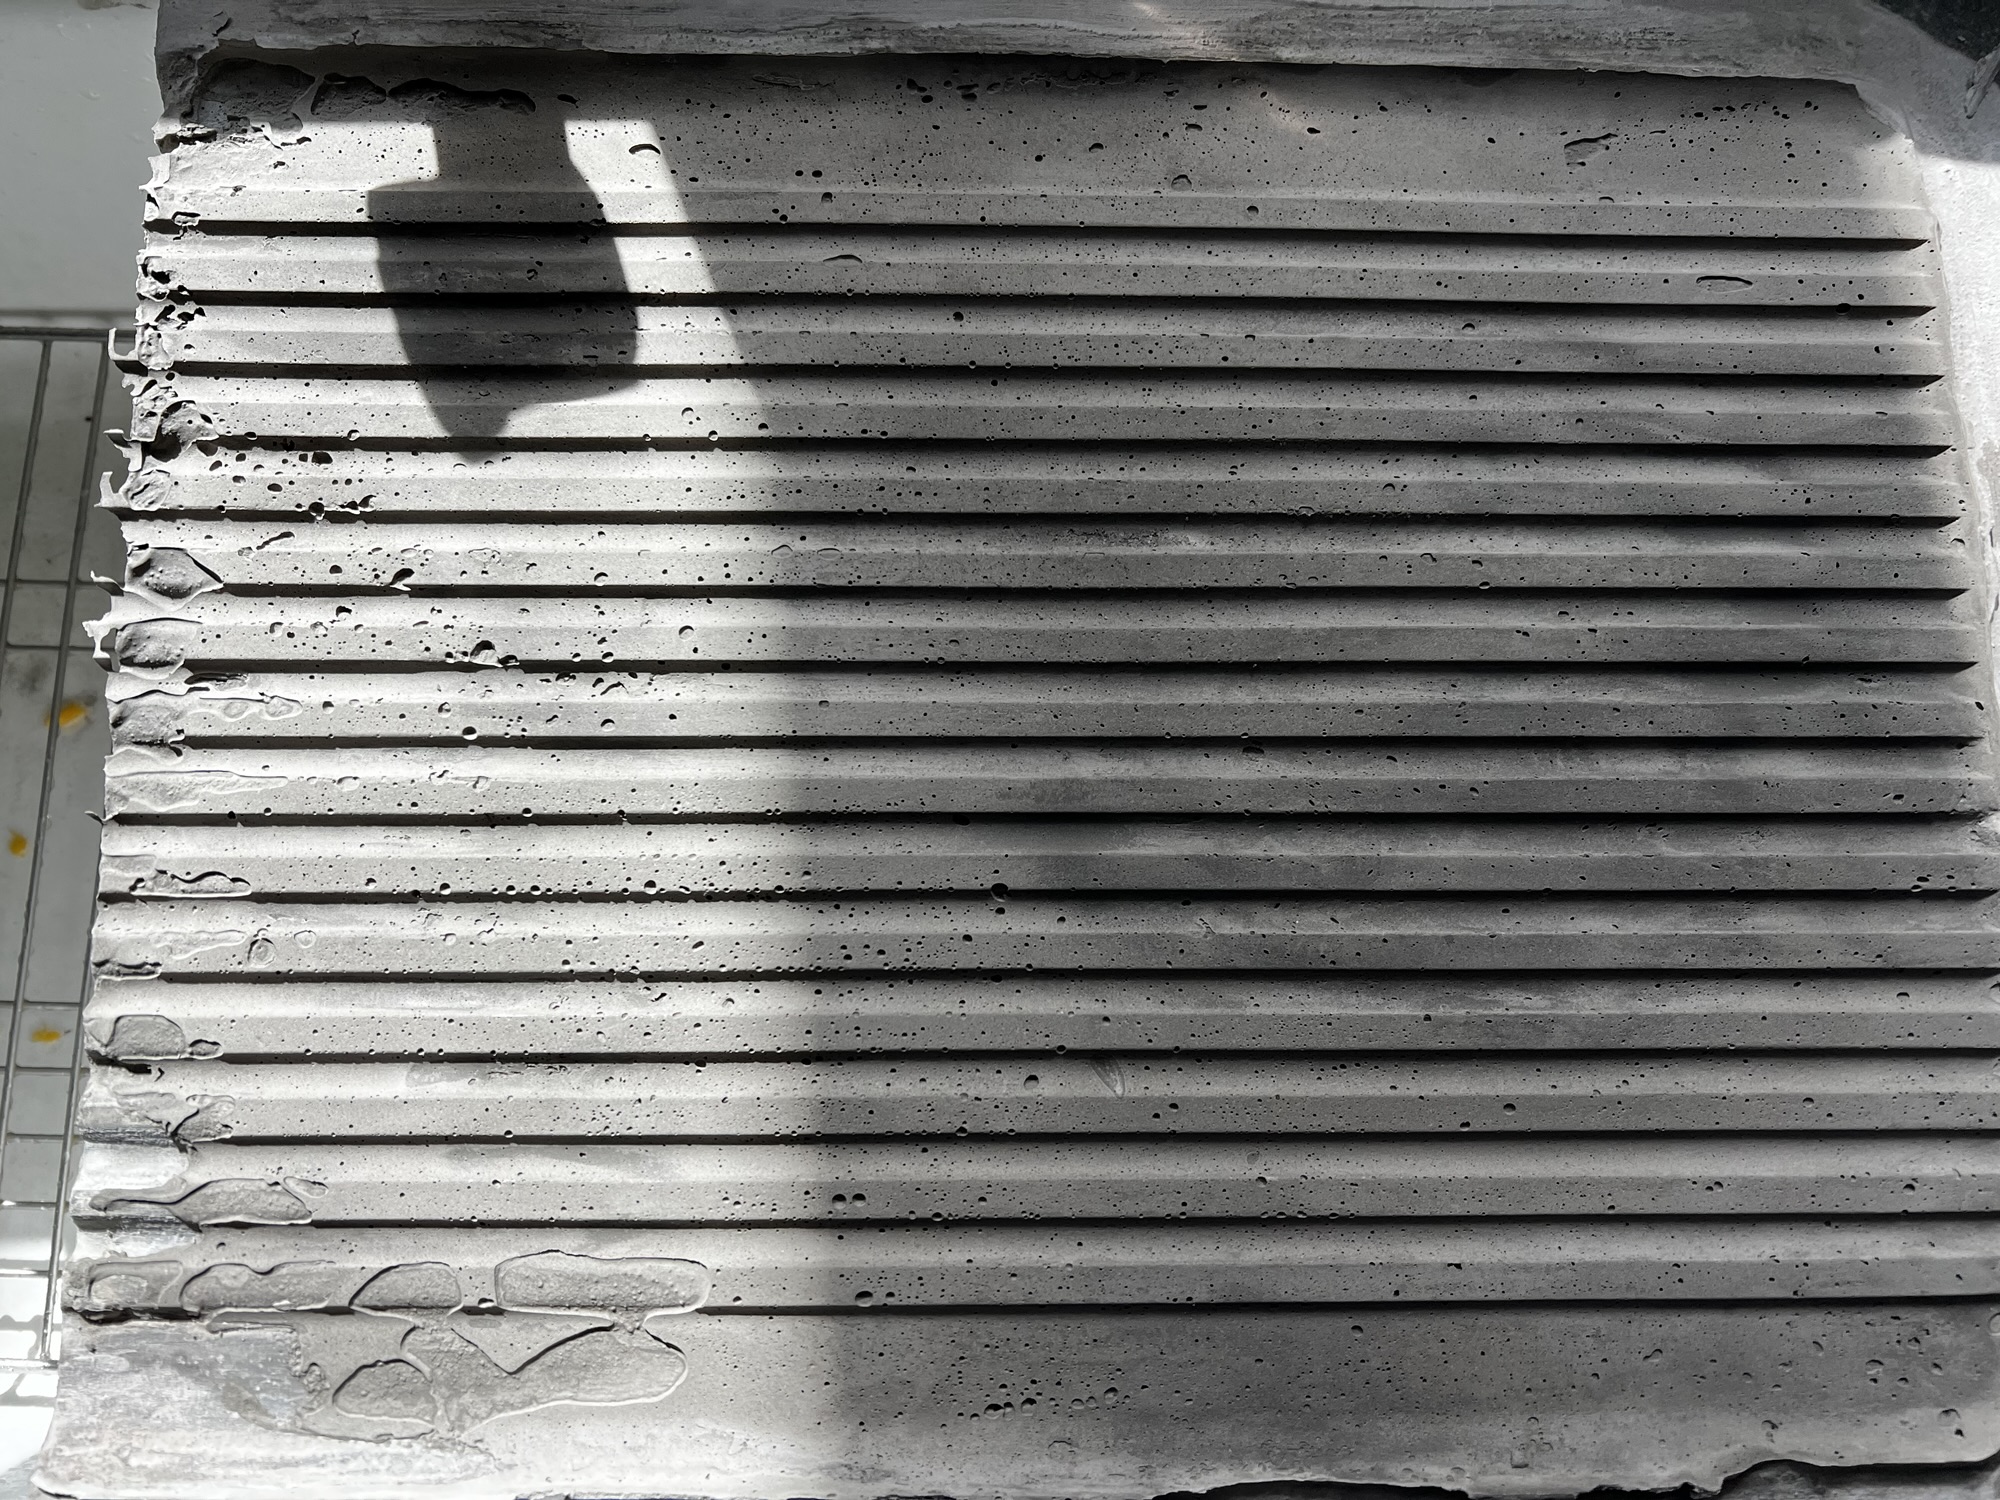
Attempt four: Z Counter Patch (made specifically for countertops) and a new silicone mold using Smooth-On Mold Max 60, which was supposed to be harder. It came out true to size but only slightly stiffer than the first silicone. At this point I had four molds and a template, none of them right — two rigid, two floppy, one slightly less floppy than the other. So I combined them: silicone mold on the concrete, rigid Bondo mold upside down on top, toe-damaging weight on top of everything. Then I remembered that the original pour had used a concrete vibrator, and that my kids had given me an impact massager for my back. I put a plastic bag on the end and vibrated the whole stack. I had solved everything.
I had not. Material still stuck to the mold. The Z Counter Patch didn’t adhere well to the Feather Finish, and when I sanded down the patch it revealed four different colors of gray — a visual record of every previous failed attempt.
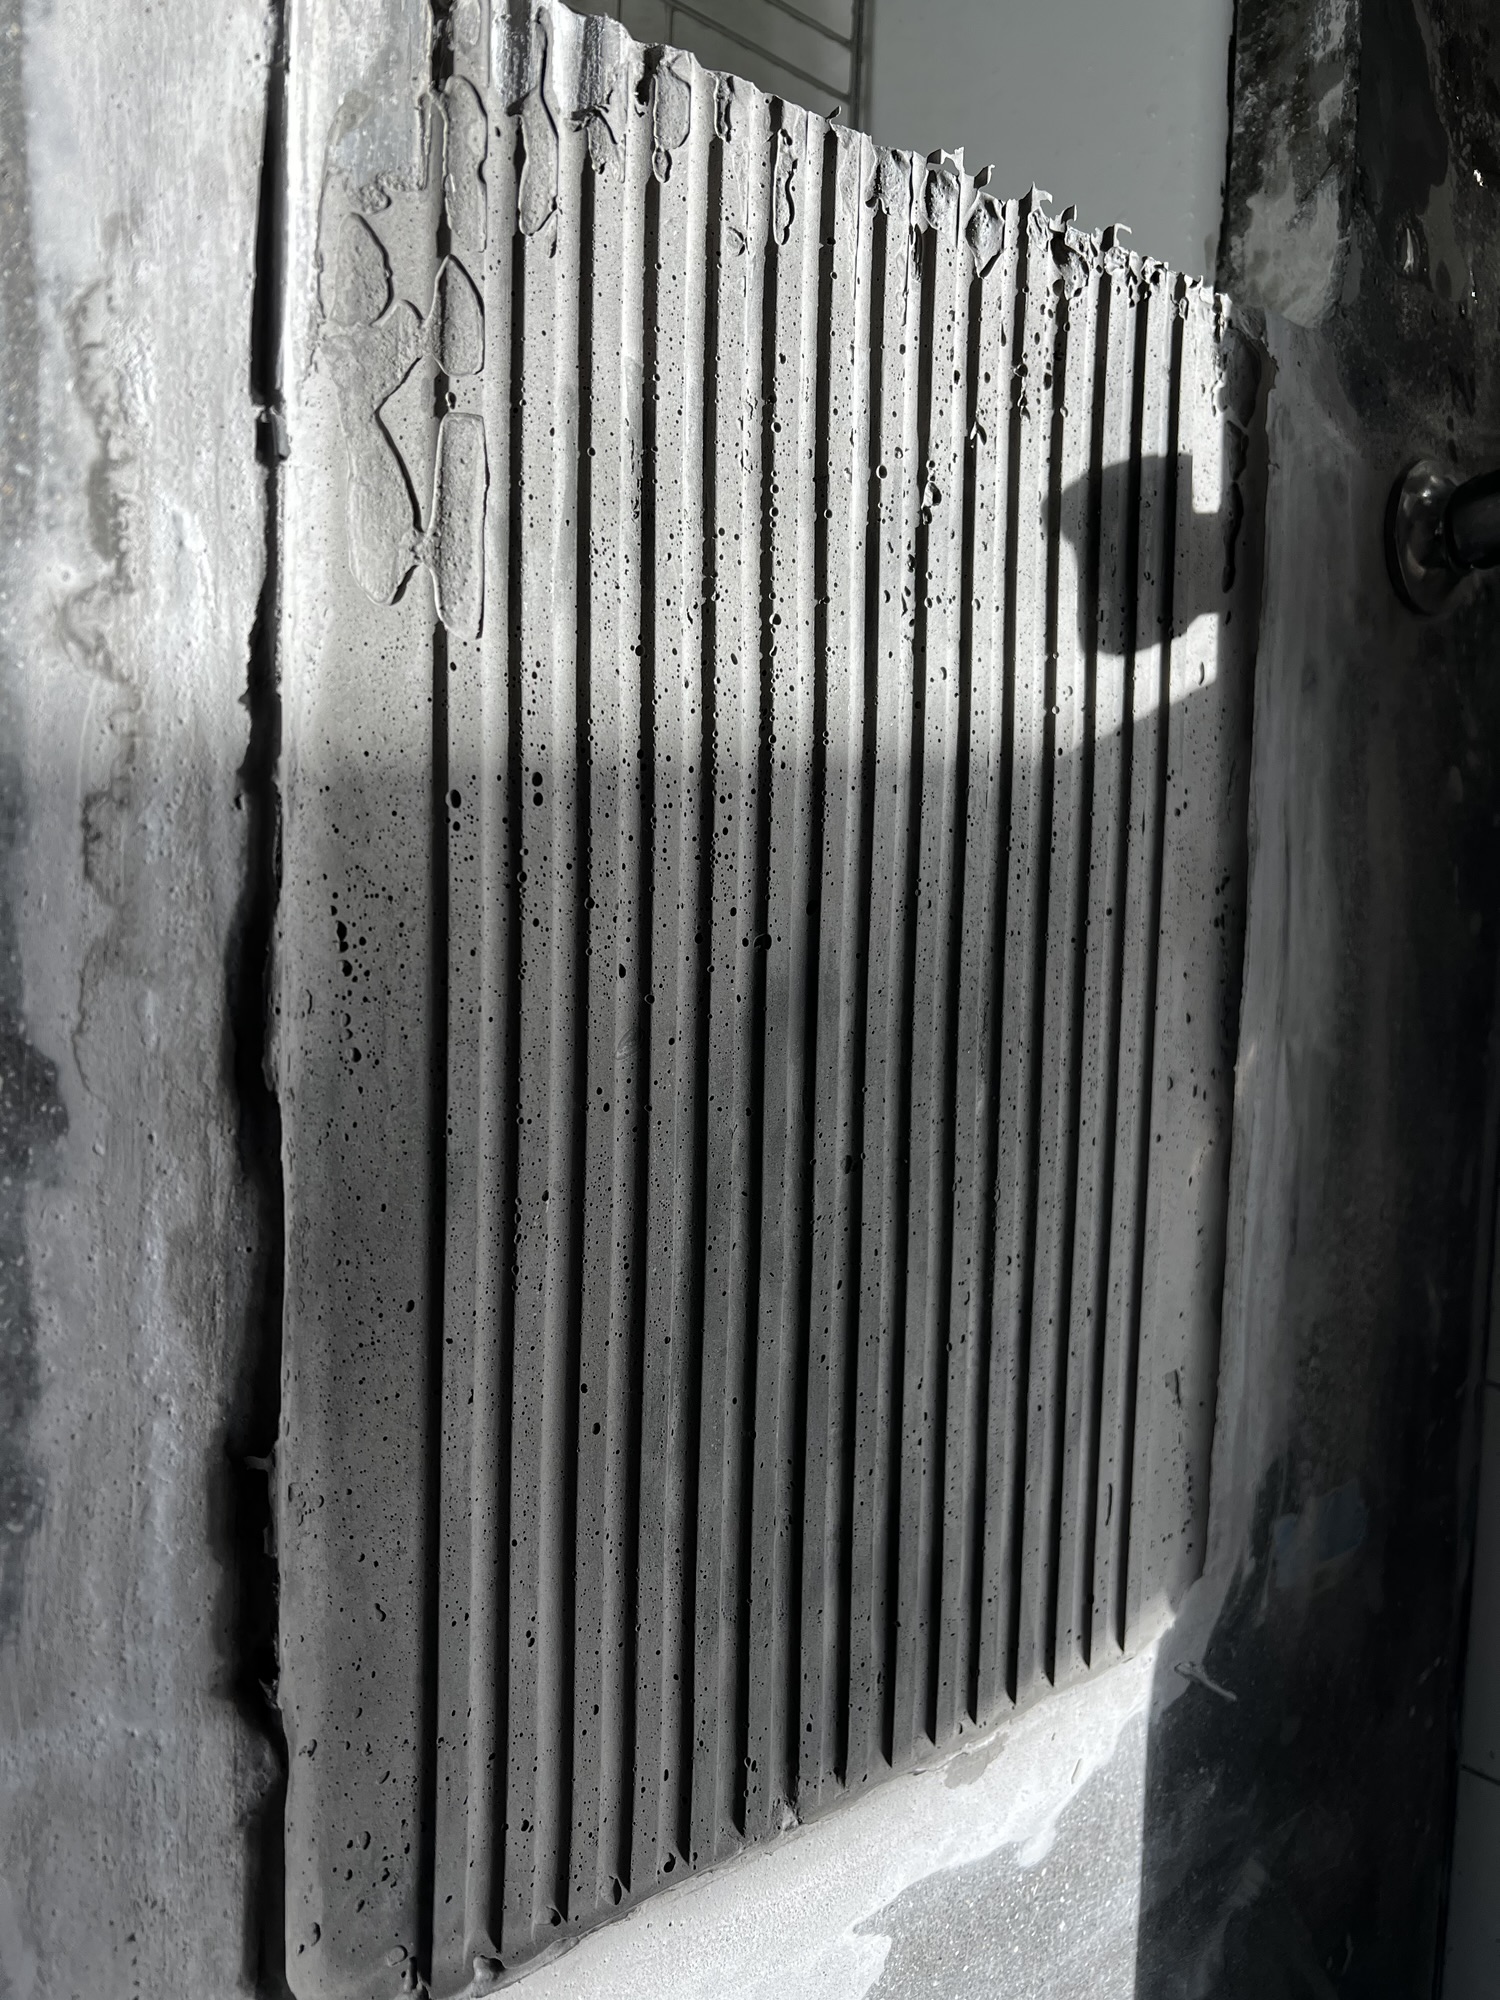
Attempt five was the “mix all the things” approach. I sifted the Top ‘n Bond through a kitchen strainer to remove the larger aggregate, added Feather Finish to warm up the gray, added Z Counter Patch for smooth sanding. I sanded the drain board down as much as I could — half a day with the diamond pads and wet sanding — and then applied my Goldilocks mixture using the right-sized rigid mold with pressure and vibration. It almost worked. I didn’t use enough material and got voids. Some concrete still stuck to the template. And I broke the Bondo mold tapping on it with the weight while running the vibrator, so I switched to the Alumilite mold.
By the time I finished writing this, I was in week three of what should have been a weekend project. I was too stubborn to give up.
The conclusion, such as it is, lives in Part Two. Short version: it works, it’s the right shape, and it looks like it’s been through some things.


Leave a comment