
In which we make some good choices, watch other people undo them, and develop strong opinions about PVC
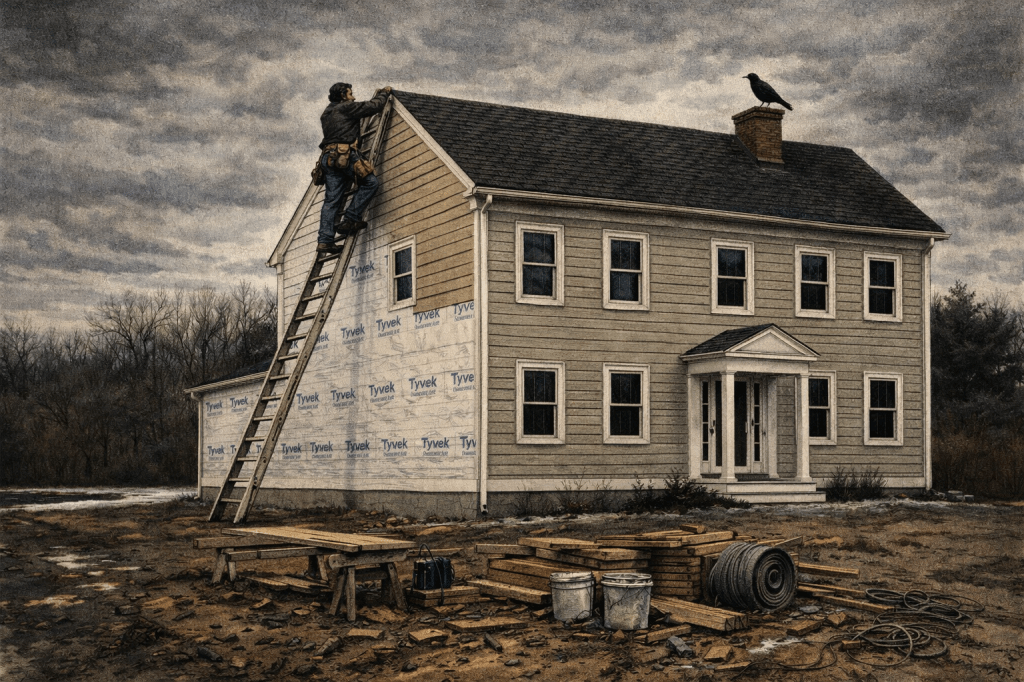
By the time we got to the exterior, the siding decision came down to two options in the Connor package: cedar or HardiePlank. Jennifer would have preferred the cedar — she always gravitates toward natural wood — but once we actually looked at what HardiePlank offered, it wasn’t a real contest.
HardiePlank is fiber cement — a cement-sand-cellulose composite that’s molded to mimic wood grain so convincingly that you genuinely have to get close to tell the difference. But the part that sold me was the finish. James Hardie’s ColorPlus technology means the color is baked on at the factory — multiple coats, cured under controlled conditions — and it comes with a 15-year warranty against peeling, chipping and cracking. It arrives pre-finished. You put it up, you’re done. No painting, no priming, no scheduling a crew to come back after installation. And unlike wood, it doesn’t rot, it doesn’t interest insects, and it doesn’t care about moisture. The cedar would have needed to be painted in the field and maintained indefinitely. I’d seen enough houses with paint peeling off the north face no matter how many times someone tried to fix it. Wood needs to be protected. I didn’t want that project.
We went with moss green, which came as a standard ColorPlus color. I’d had a moment of wanting something darker — a deep gray-blue — but lighter colors on a house that bakes in the summer sun seemed like the wiser play. The moss green looks period-appropriate, it suits the setting, and fifteen-plus years later we’ve never once wished we’d gone darker.
The one legitimate knock on HardiePlank is that it’s extraordinarily brittle. You nick it wrong during installation, it cracks. It would be a better product with just a bit more flexibility in the composite. As it stands, you handle it carefully and accept that it doesn’t forgive mistakes. But we’ve had zero issues with the siding itself, so that trade works for me.
The trim is where the Connor system really showed its value. One of the main reasons we went the Connor route in the first place was the pre-assembled trim package. These weren’t just pre-cut pieces — they arrived from the Middlebury factory fully assembled. The wide corner boards that read like columns, the eave cornices, the returns — all of it built to the house’s specific design, labeled, and ready to install. The kind of detail work that would take a skilled finish carpenter days to fabricate and fit on site just showed up on a truck. That was a genuine advantage of the mill-built approach and it delivered exactly what it promised.
The Connor package specified wood for most of the trim, but this is where I made a call I’m still happy about: I pushed to use PVC for the corner assemblies and the sills. The case for PVC on exterior trim is simple — it doesn’t rot, it doesn’t need paint to survive, and it will outlast the house. For pieces that sit at the corners of a building and take whatever the weather throws at them for decades, it was the obvious choice.
What I didn’t know at the time is that PVC trim moves dramatically with temperature change. On long runs, the thermal expansion and contraction is significant — the gaps that open up on a cold January morning are genuinely startling the first time you see them. The fix involves treating the surface with acetone before sealing, which opens up the material and allows a proper bond, essentially replicating what the factory would do. I found this out a few years in. I still haven’t done it on all the runs. On shorter pieces like windowsills the movement is minimal enough that it hasn’t been an issue, but it’s something future builders should know going in.
The wood trim that remained in the package has been more of a story. The north face of the house developed paint adhesion problems early — probably a combination of the temperature during the initial application and the fact that the north side never fully dries out between seasons. I hired a professional painter to address it: oil primer, proper prep. It peeled again. Once wood in that situation has lost the battle, you’re managing it rather than solving it. I’ve been up on a rented lift repainting it myself since. It’s holding.
The Bilco door surround rotted out early because that’s exactly where water sits and never leaves. The bathroom exhaust vent trim went the same way. I’ve replaced both with PVC, which is what they should have been. There’s more wood trim I’ll convert eventually. It’s an ongoing maintenance project that would not exist if we’d simply spec’d all exterior trim in PVC from day one. The cost difference would have been negligible. The time I’ve spent on ladders would not have been.
For the roof, I liked the look of slate. Jennifer liked the look of slate. Actual slate — the material, the craftsmen, the cost — was nowhere near our budget and we both knew it. But GAF made a shingle called Slateline that genuinely impressed me. Antique gray. From the ground it reads as slate convincingly enough that people have asked. The shadow line on the version we bought is slightly more pronounced than the real thing — GAF actually improved it with a later product — but we bought when we bought, and it still looks good.
More importantly, it’s a lifetime-rated shingle. I understand “lifetime” is doing some heavy lifting in that warranty language, but the point is these are premium shingles designed to significantly outlast a standard 20-year architectural shingle. The roof is the thing that protects everything else. It is not where you save money.
We also designed the roofline to be as simple as possible — no valleys, no dormers, no complex intersections. Some of that was aesthetic and some of it was practical. Every valley is a potential failure point. Every penetration is a leak waiting to happen. We kept it clean, and the only post-framing penetration we had to cut was for the chimney. We’ve already covered how that went.
The pitch is 12/12. Getting up there for any reason requires genuine commitment.
The roofing installation was done by the framing subcontractor, who was looking for work during the financial crisis. My friend had originally planned to do it, decided a 12/12 pitch wasn’t worth it, and when the framer offered to handle it at the same price, I said fine.
This was not a disaster exactly, but it was not done correctly, and I didn’t find out for a while because you don’t inspect your own roof from the ground.
The first sign was buckling at the drip edge. I called them back, they came and fixed something, and left without so much as a goodbye. It wasn’t until I was up on the roof dealing with the chimney situation that I started noticing gaps at the perimeter. What I eventually pieced together was that the starter shingles they’d used were wrong — too short for the premium Slateline shingles we’d ordered, which are larger than standard. Whether they ran out, never ordered the right ones, or just didn’t notice, I can’t say. What I can say is that there are options when you discover you have the wrong starter shingles: you stop, you call, you get the right ones. Or — and this is not complicated — you cut the field shingles themselves into starter strips, flip them upside down, and use those. That’s an accepted method. It’s more work but it’s correct. You don’t just install the wrong ones and hope nobody notices from the ground.
They also butted the drip edge instead of overlapping it. Two fundamental errors on the one layer that exists specifically to protect every other layer.
I had my friend fix it properly — overlapping the drip edge, addressing the starter shingle situation around the perimeter. It’s been fine ever since, but none of it should have needed fixing.
We also held off on gutters longer than we should have, not wanting to cover up the trim detail we’d spent so much on. The water dripping off the eaves and splashing against the foundation eventually convinced us otherwise. We went with 6-inch half-round on the main house and 5-inch on the porch. The eave profile on this house isn’t a flat fascia — it’s angled, almost like crown molding, which made standard gutter brackets useless. I eventually found strap-style hangers that nail under the shingles, which worked initially. Later, when I rented a lift to repaint the north trim, I switched to adjustable half-round brackets that gave me proper slope control. That was about twelve years after move-in. The gutters have been fine since.
What we should have known:
HardiePlank with ColorPlus was the right call and I’d make it again without hesitation. Pre-finished, no rot, no painting, no maintenance headaches. The brittleness during installation is a real consideration but not a dealbreaker.
Spec all exterior trim in PVC from the start. All of it. Manage the thermal movement with proper acetone prep on the seams and you’ve eliminated an entire category of future maintenance. Wood trim on the north face of a house is a project you will inherit.
The roofing lesson isn’t really about roofing — it’s about supervision. On a steep pitch, you can’t see what’s happening from the ground. You assume the crew knows what they’re doing. Sometimes they do. Sometimes they use the wrong starter shingles and butt the drip edge and leave before you can ask questions. The only protection against that is getting eyes on the work before it’s buried under the next layer.
Grade: B
The siding and trim decisions were genuinely good. The roof material was the right call. The installation problems were frustrating but ultimately fixable. I’m docking points for the trim that’s still rotting in places, for the gutters that took twelve years to get right, and for not catching the roofing errors before they were finished. Most of it could have been avoided with more oversight or better initial spec decisions. The HardiePlank, though — that one I got right.
Next: Part 18 — The Kitchen

Leave a comment