
After drywall came painting. And by “painting,” I mean painting literally everything in the entire house. Every wall. Every ceiling. Every piece of trim. Every window interior. Every door. All 27-28 of them. Both sides.
Jennifer and I decided to do all the painting ourselves to save money. This seemed like a reasonable decision at the time.
It was not a reasonable decision.
The Scope
Here’s what we committed to: every wall and ceiling in a 2,000-plus square foot house — living room, dining room, kitchen, three bedrooms, two bathrooms, hallways, closets, attic. Two coats on everything.
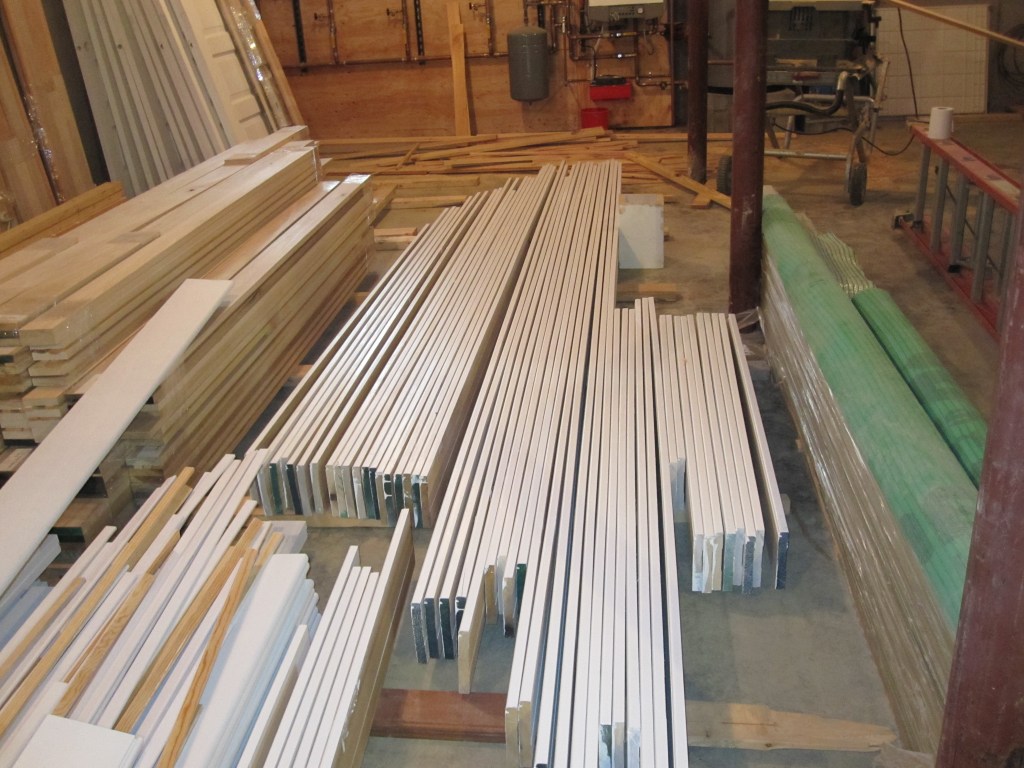
All the raw poplar trim that came with the Connor Homes kit. Baseboards, door casings, window casings. Sixteen-foot pieces, some of them. Had to prime and paint everything from bare wood.
Twenty-seven to twenty-eight interior doors. Both sides. Twenty-seven to twenty-nine window interiors — the exteriors were aluminum clad, thank god, so we only had to do interiors. All the unfinished kitchen cabinets, doors, frames, shelves, multiple coats. Bathroom walls in different colors. Wainscoting.
Looking back, this was insane. This is months of work for professional painters. We were doing it on weekends while still living elsewhere and working in the city during the week.
The Paint Choices
Sherwin Williams from the beginning on the exterior. The exterior takes a beating — weather, UV, temperature swings — and we wanted paint that would last. The HardiBoard siding came prefinished (a huge win), but any exterior trim got Sherwin Williams.
Behr from Home Depot on the interior. Why Behr? Honestly, I think the lighting was warmer in Home Depot and Behr seemed like a better brand than Valspar. They’re probably the same. But we ended up with Behr.
- Walls: Behr Fragrant Jasmine in eggshell
- Ceilings: same color in flat
- Trim: Behr Decorator White in semi-gloss
The plan was to paint almost everything the same color to keep it simple. Bathrooms different to start. Kids’ rooms could get different colors later (and they did — Benjamin Moore, which we switched to after realizing better paint matters).
We bought paint in 5-gallon buckets. Five or six 5-gallon buckets of the Fragrant Jasmine for walls and ceilings. The trim paint I’m less sure about — maybe 3 gallons? Maybe 5? I honestly don’t remember.
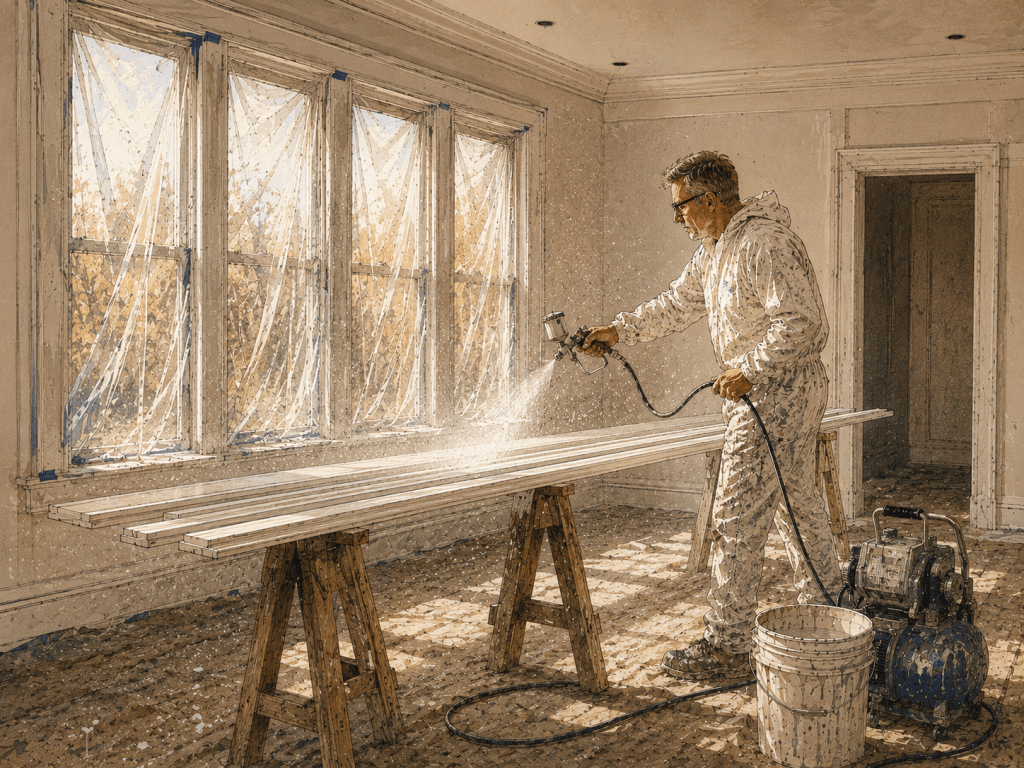
The Sprayer Saga
My friend the builder had a professional paint sprayer. He offered to let me borrow it to make the job easier. This was generous of him. It was also the beginning of a very frustrating relationship with paint spraying equipment.
I had never used a paint sprayer before. I didn’t know what I was doing. And professional sprayers are not intuitive pieces of equipment. Getting it primed was a nightmare. Every time it sat, it would unprime. I’d spend an hour just trying to get the damn thing working. Once it worked, I wasn’t good at controlling it — uneven coverage, drips, overspray.
I know it was operator error. Mistakes were made. But I really, really struggled with that sprayer.
When I finally got it working, I’d spray the walls and then back-roll to make sure the coverage was even. I used a piece of cardboard or plastic to try to keep the ceiling separate from the walls at the edges. The windows were still taped over from the spray foam installation, which was helpful — one less thing to mask. The floors weren’t finished yet, so I could just spray without worrying about drips.
The sprayer did work, eventually. Faster than rolling by hand. But the setup time, the priming struggles, the cleanup — I’m not convinced it actually saved time overall.
After struggling with it for several weekends, I started to think maybe it was broken. It wasn’t a new sprayer. Maybe something was wrong that I didn’t understand. So I tried to find replacement parts. And then I thought, you know what, maybe I should just buy my own. Then I’ll know it works properly, and I won’t have to worry about returning a broken one to my friend.
I bought my own paint sprayer.
Did this solve the problem? Sort of. I had fewer issues with the new one. But I also had more practice by that point, so maybe I just got better at it. Hard to say.
I did end up buying replacement parts for my friend’s sprayer too, because I thought maybe I’d broken it. Whether that fixed it or not, I don’t know. I had my own by then.
The Trim Painting Nightmare
The trim was its own special kind of hell.
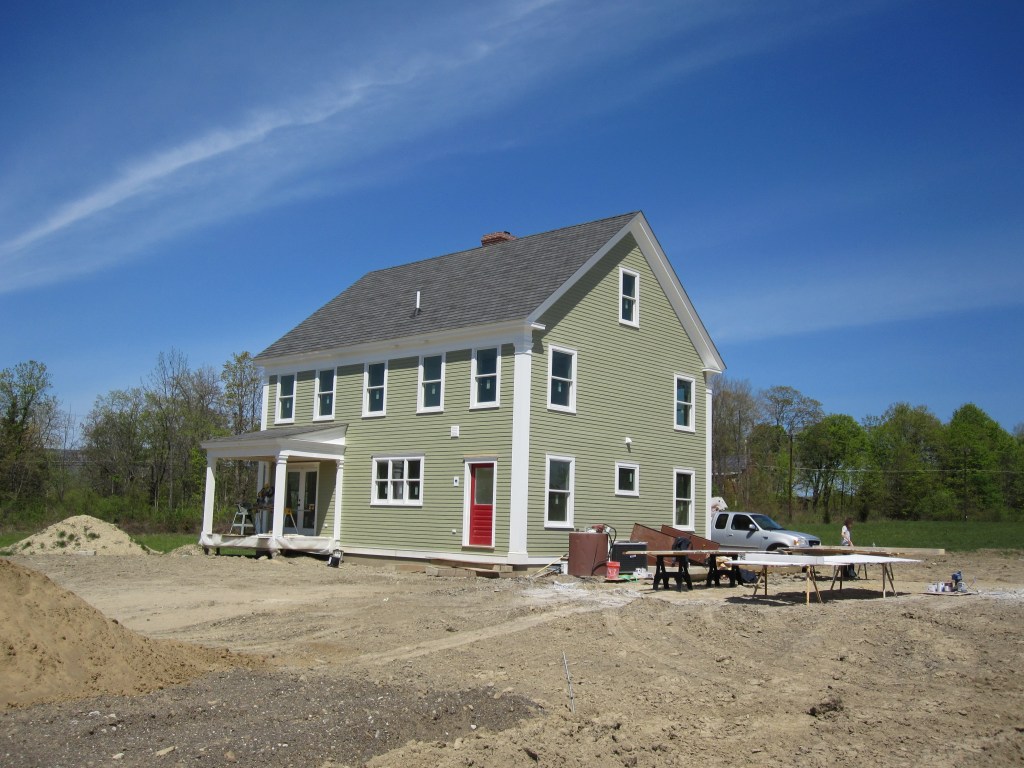
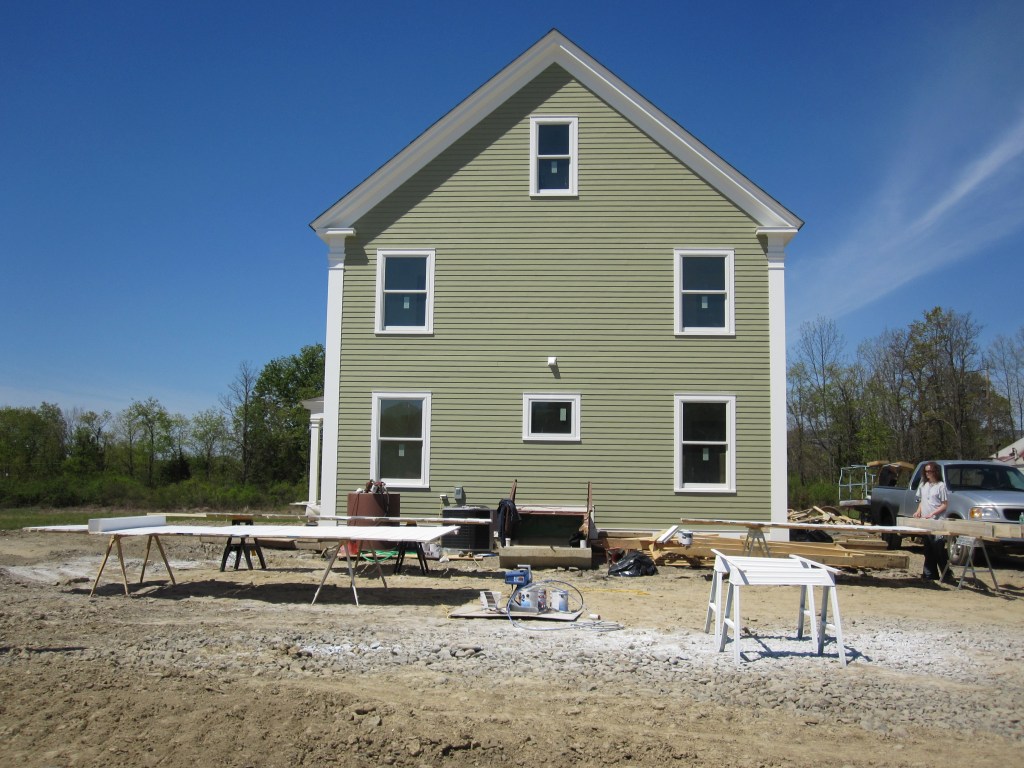
All the trim that came with the house kit was raw poplar. Not primed. Raw wood. So I had to prime everything, then paint everything. By the time I got to trim, it was warming up outside, so I set up giant spray stations in the yard to handle the 16-foot pieces.
The process:
- Spray primer on all sides.
- Let dry.
- Try not to get drips on the edges (fail at this repeatedly).
- Paint by hand with a brush because Jennifer wanted brush marks, not a factory finish.
- More drips on edges because you have to stand pieces on edge to paint the other edge.
- Paint all the flat parts (easy).
- Paint all the edges (terrible).
- Repeat for roughly one million pieces of trim.
I don’t know how many pieces of trim I painted. Too many. Way too many.
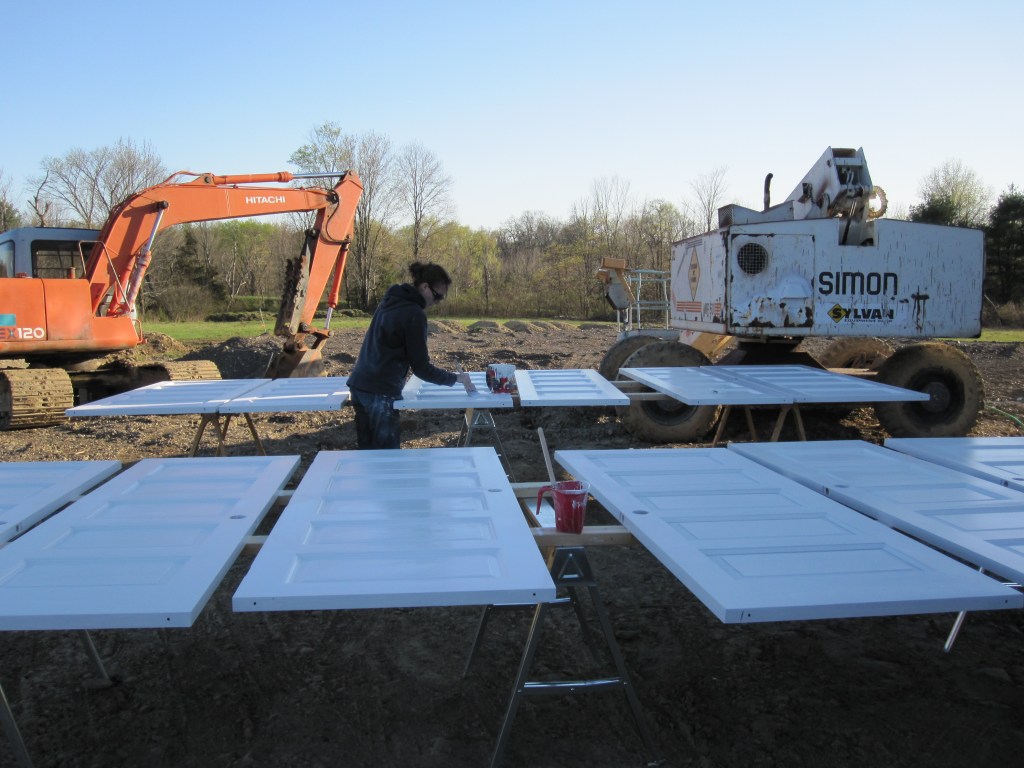
Then there were the doors. Twenty-seven to twenty-eight interior doors. Each one has two sides. The doors came primed, which was helpful. But painting them was its own logistical puzzle: you paint one side, flip it over to paint the other side, set it on sawhorses, and you’ve just messed up the wet finish from the first side. I had to figure out some system for painting both sides without ruining either side. I honestly don’t remember what I came up with. I just remember it being tedious and annoying and taking forever.
And the windows. All twenty-seven to twenty-nine window interiors needed painting. They came primed, but primed isn’t finished. At least the exteriors were aluminum clad, so I didn’t have to paint those.
Jennifer helped with all of this. It wasn’t just me painting alone. She did a lot of the work, including the kitchen cabinets, which she did a nice job on — even though the materials we chose doomed them to failure.
The Kitchen Cabinet Disaster
Here’s where we made a critical mistake that would haunt us for years.
We primed the kitchen cabinets with Kilz primer. Then we painted them with regular latex paint in a dark bluish-gray. Kilz is fine for walls. It’s not fine for cabinets, especially combined with regular latex paint.
The cabinets never fully dried. They stayed sticky. Forever.
Part of the problem was that the house was still full of moisture from the spray foam, the drywall mud, and now all the paint. Everything was damp. Nothing was drying properly. But the bigger problem was using the wrong products. Cabinets need cabinet paint — paint specifically designed to cure harder and handle the wear of being opened and closed constantly. We didn’t know this. So we used what we had.
We tried painting polyurethane over the latex to seal it and create a hard surface. Didn’t work. Still sticky.
We lived with sticky cabinet shelves for years. Everything that sat on the shelves would stick slightly. You’d pick up a glass and feel that slight resistance, that tacky feeling.
It was maddening.
Recently — fifteen years later — I repainted all the kitchen cabinets with Behr Cabinet and Trim paint, the actual cabinet paint designed for the application. Why Behr? Because I needed to match the original color, and matching the Behr color with Behr paint was easier than color-matching with Benjamin Moore or Sherwin Williams and then repainting the entire house to make everything match.
The new paint is great. The cabinets are finally not sticky. It only took fifteen years.
Cabinet paint exists for a reason. Use it. Don’t use regular latex paint on cabinets. Don’t use Kilz primer on cabinets. Buy the right product from the beginning.
I also painted all the doors in the house at the same time with the Behr Cabinet and Trim. They’re beautiful. They should have been painted with this from day one.
The Moisture Problem, Part Three
Remember the moisture issues from spray foam? And from drywall taping? Well, painting added even more moisture to the house.
We were painting in early spring. It was still cold. I couldn’t keep the windows open for ventilation. And I didn’t run a dehumidifier because I still wasn’t thinking about moisture management. So all that water vapor from the paint just sat there in the house, adding to the already-saturated environment.
This contributed to the cabinet paint not drying. It probably contributed to other finishes not curing properly. It definitely made the house feel damp and uncomfortable.
What I should have done: run multiple dehumidifiers continuously while painting and for weeks after. Monitor humidity. Ventilate as much as possible even in cold weather. What I actually did: nothing. Just painted and hoped for the best.
I’m noticing a pattern here.
The Timeline
Painting took forever. Months of weekends. Two to three weekends of spraying walls and ceilings (plus all the time fighting with the sprayer). Countless weekends of priming, painting, letting things dry, painting again on the trim. More weekends on the doors. More on the cabinets. Another two to three weekends on the bathrooms after everything else was up.
It wasn’t all stacked together consecutively. Some things had to wait. We painted the walls first. Then the wainscoting went up in bathrooms and we painted that. The trim got painted before installation so we’d only have to touch up nail holes and caulk joints after.
Overall, painting took two to three months of weekend work spread across the spring.
The Paint Brand Evolution
How our paint choices evolved:
- Build, 2010: Sherwin Williams exterior, Behr interior
- Kids’ rooms, a few years later: Benjamin Moore (learned that better paint matters)
- Touch-ups and built-ins: Benjamin Moore
- Cabinet repaint, 2024: Behr Cabinet and Trim (to match the original color without repainting the entire house)
Start with good paint, or you’ll end up repainting with good paint later anyway.
Would I Do It Again
Parts of it, yes. Walls and ceilings with a sprayer, now that I know how to use one. Simple trim painting. Touch-up work and small projects.
Parts of it, absolutely not. Kitchen cabinets — just hire a cabinet painter, seriously. Exterior trim — working at height with paint is miserable. Anything requiring perfect finish quality. And I would never again paint twenty-seven to twenty-eight doors by hand, prime and paint raw trim for an entire house, or use the wrong paint for cabinets and hope for the best.
The paint sprayer title of this post is a bit of a lie. I would use a paint sprayer again. I own one now. I’ve gotten better at using it. It’s a useful tool. But I’d use it for the right applications. And I’d know what I was doing. And I wouldn’t borrow someone else’s professional equipment without understanding how to maintain it properly.
Grade: B-. We painted twenty-seven to twenty-nine windows, twenty-seven to twenty-eight doors, every wall, every ceiling, miles of raw poplar trim, and a kitchen full of cabinets — over months of weekends, while still working in the city full-time. Sherwin Williams on the exterior held up. Behr Fragrant Jasmine on the walls held up. Jennifer’s brush-mark aesthetic on the trim still looks good fifteen years later. The kitchen cabinets, however, got Kilz primer and regular latex paint in a damp house, and they stayed tacky until I finally repainted them with actual Behr Cabinet and Trim fifteen years later. The sprayer fought me for months. The moisture went unmanaged. But the house got painted. It’s our work. And the windows were already taped, which is something.
Next up: Part 15 — Flooring. Wide plank heart pine.

Leave a comment